Atlassian Suite
Overview
The Atlassian Suite of products is a comprehensive set of collaboration tools designed for project management, software development, and team communication, including popular applications like Jira, Confluence, Trello, and Bitbucket.
Supported Licenses
All Licenses
While Atlassian does support signing in with Google, they don't allow you to enforce it. That means that signing in with Google makes things easier for your employees, but their usernames and passwords can still be compromised. Atlassian also doesn't require multi-factor authentication by default, so you could be at risk if you don't enforce this for your organization.
Atlassian Guard
In order to configure and use Single Sign-On (SSO) and SCIM with Atlassian products you need to purchase an Atlassian Guard license for your users. You can find out more info here
What you need to know
Enabling Third-Party Login via Google
Atlassian enables third-party login via Google by default. If it was disabled for any reason in your organization you can follow this guide to turn it back on. Do this if you want to make it easier for your employees to login via Google.
Log in to Atlassian as an admin
Log in to the Atlassian Admin Panel at https://admin.atlassian.com as an admin.
Go to Security
Click on the Security tab at the top.

Go to Authentication Policies
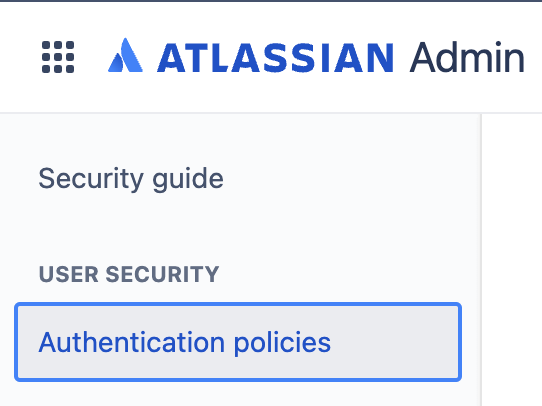
Click on the Authentication Policies menu on the left.
Edit your default policy
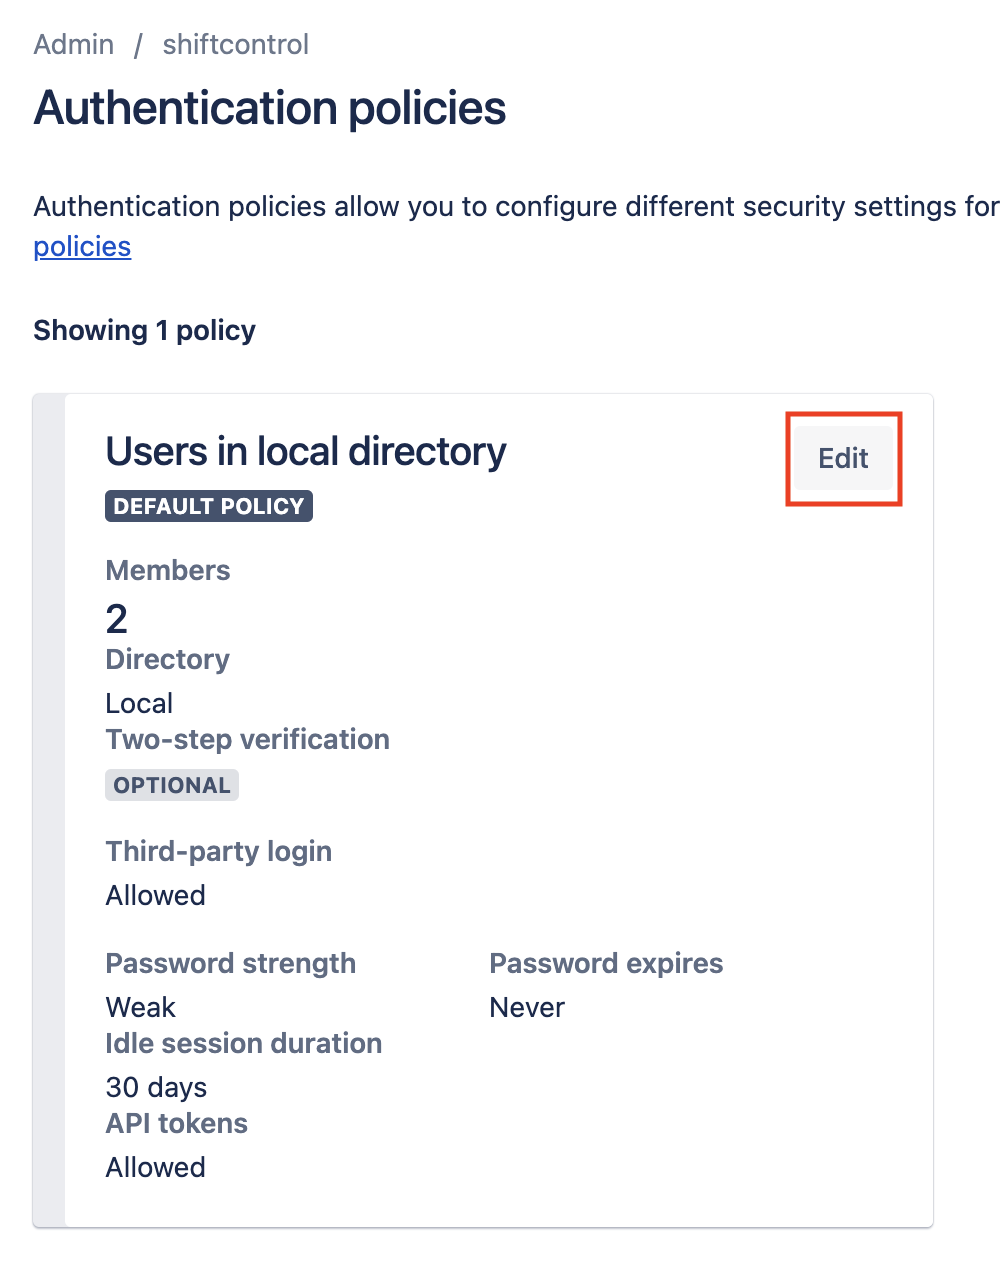
Your organization may already have several authentication policies configured. Here we'll walk you through updating a default policy. Find your default policy and click on the Edit button.
Enable third-party login
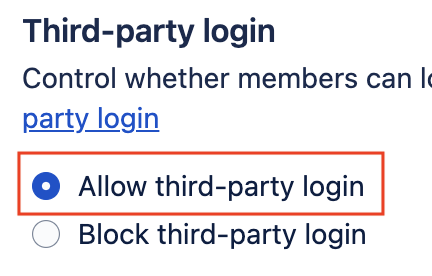
Make sure that "Allow third-party login" is enabled.
Click update
Click the update button at the bottom.

Any user that matches the policy is now able to login to Atlassian via their Google account.
Configuring stronger security defaults
By default, Atlassian sets the security policies for your organization to be very insecure. By using these defaults you have significant risk of being compromised. We'll help you set your security policies to something safer that doesn't impact your employee productivity.
Log in to Atlassian as an admin
Log in to the Atlassian Admin Panel at https://admin.atlassian.com as an admin.
Go to Security
Click on the Security tab at the top.
Go to Authentication Policies
Click on the Authentication Policies menu on the left.
Edit your default policy
Your organization may already have several authentication policies configured. Here we'll walk you through updating a default policy. Find your default policy and click on the Edit button.
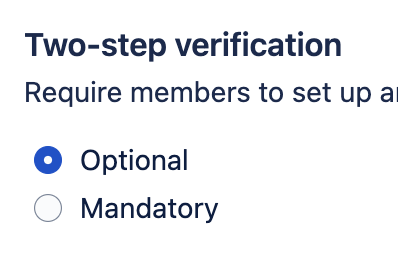
Require two-step verification
Click on the Mandatory button to require two-step verification. This means that Atlassian will ask for a username, password, and an additional factor like a one time password or passkey.
Enable third-party login
We recommend that you enable third-party logins to make it easier for employees to login without a normal username and password, especially if you didn't purchase Atlassian Guard.
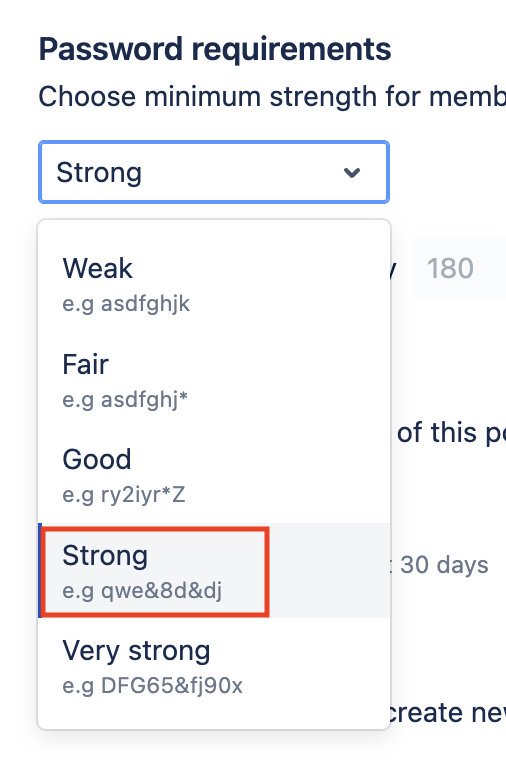
Set strong passwords as the default
You should change the minimum password strength to at least Strong. You can also choose Stronger if you'd like. We don't think it's necessarily useful to force a user to change their password periodically, unless you have compliance reasons to do so. Forcing password changes often forces worse passwords because users try to use patterns to make it easier.
Click update
Click the update button at the bottom.
Any user that matches the policy is now required to register a for multi-factor authentication next time they log in and set a strong password. Congratulations, your organization is now more secure!
Enable SSO & User Sync with Atlassian Guard
The best way to secure your organization and identity for the Atlassian Suite is by using SSO via Atlassian Guard.
Log in to ShiftControl & go to Apps
Log into ShiftControl at https://app.shiftcontrol.io and go to the Apps area.
Add a new app in ShiftControl
In the apps area, click Add new app.

Add the Atlassian Cloud App
Search for “Atlassian” and click on Add SSO App for “Atlassian Cloud”.

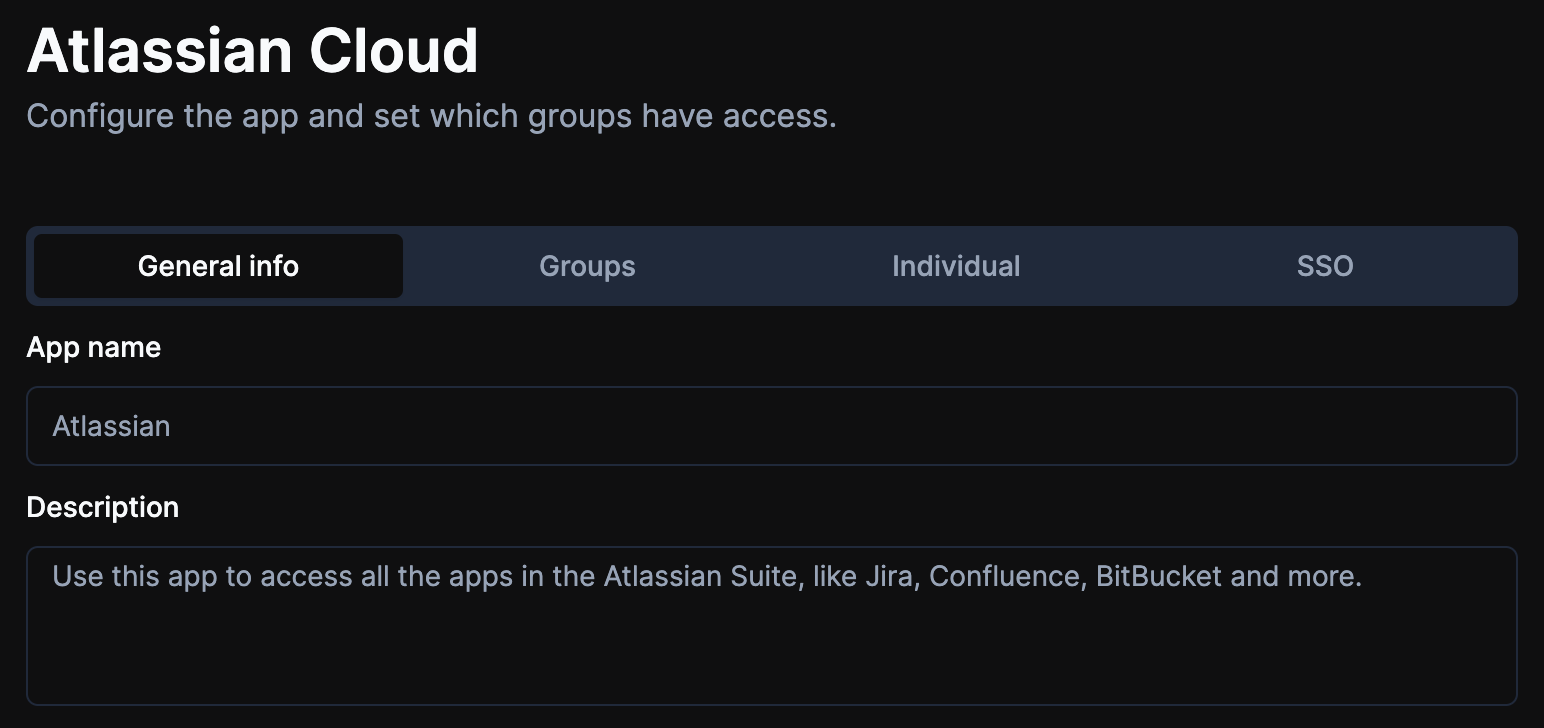
Rename the app and update the description
Rename the app if you’d like (We recommend calling it Atlassian), and add a description.
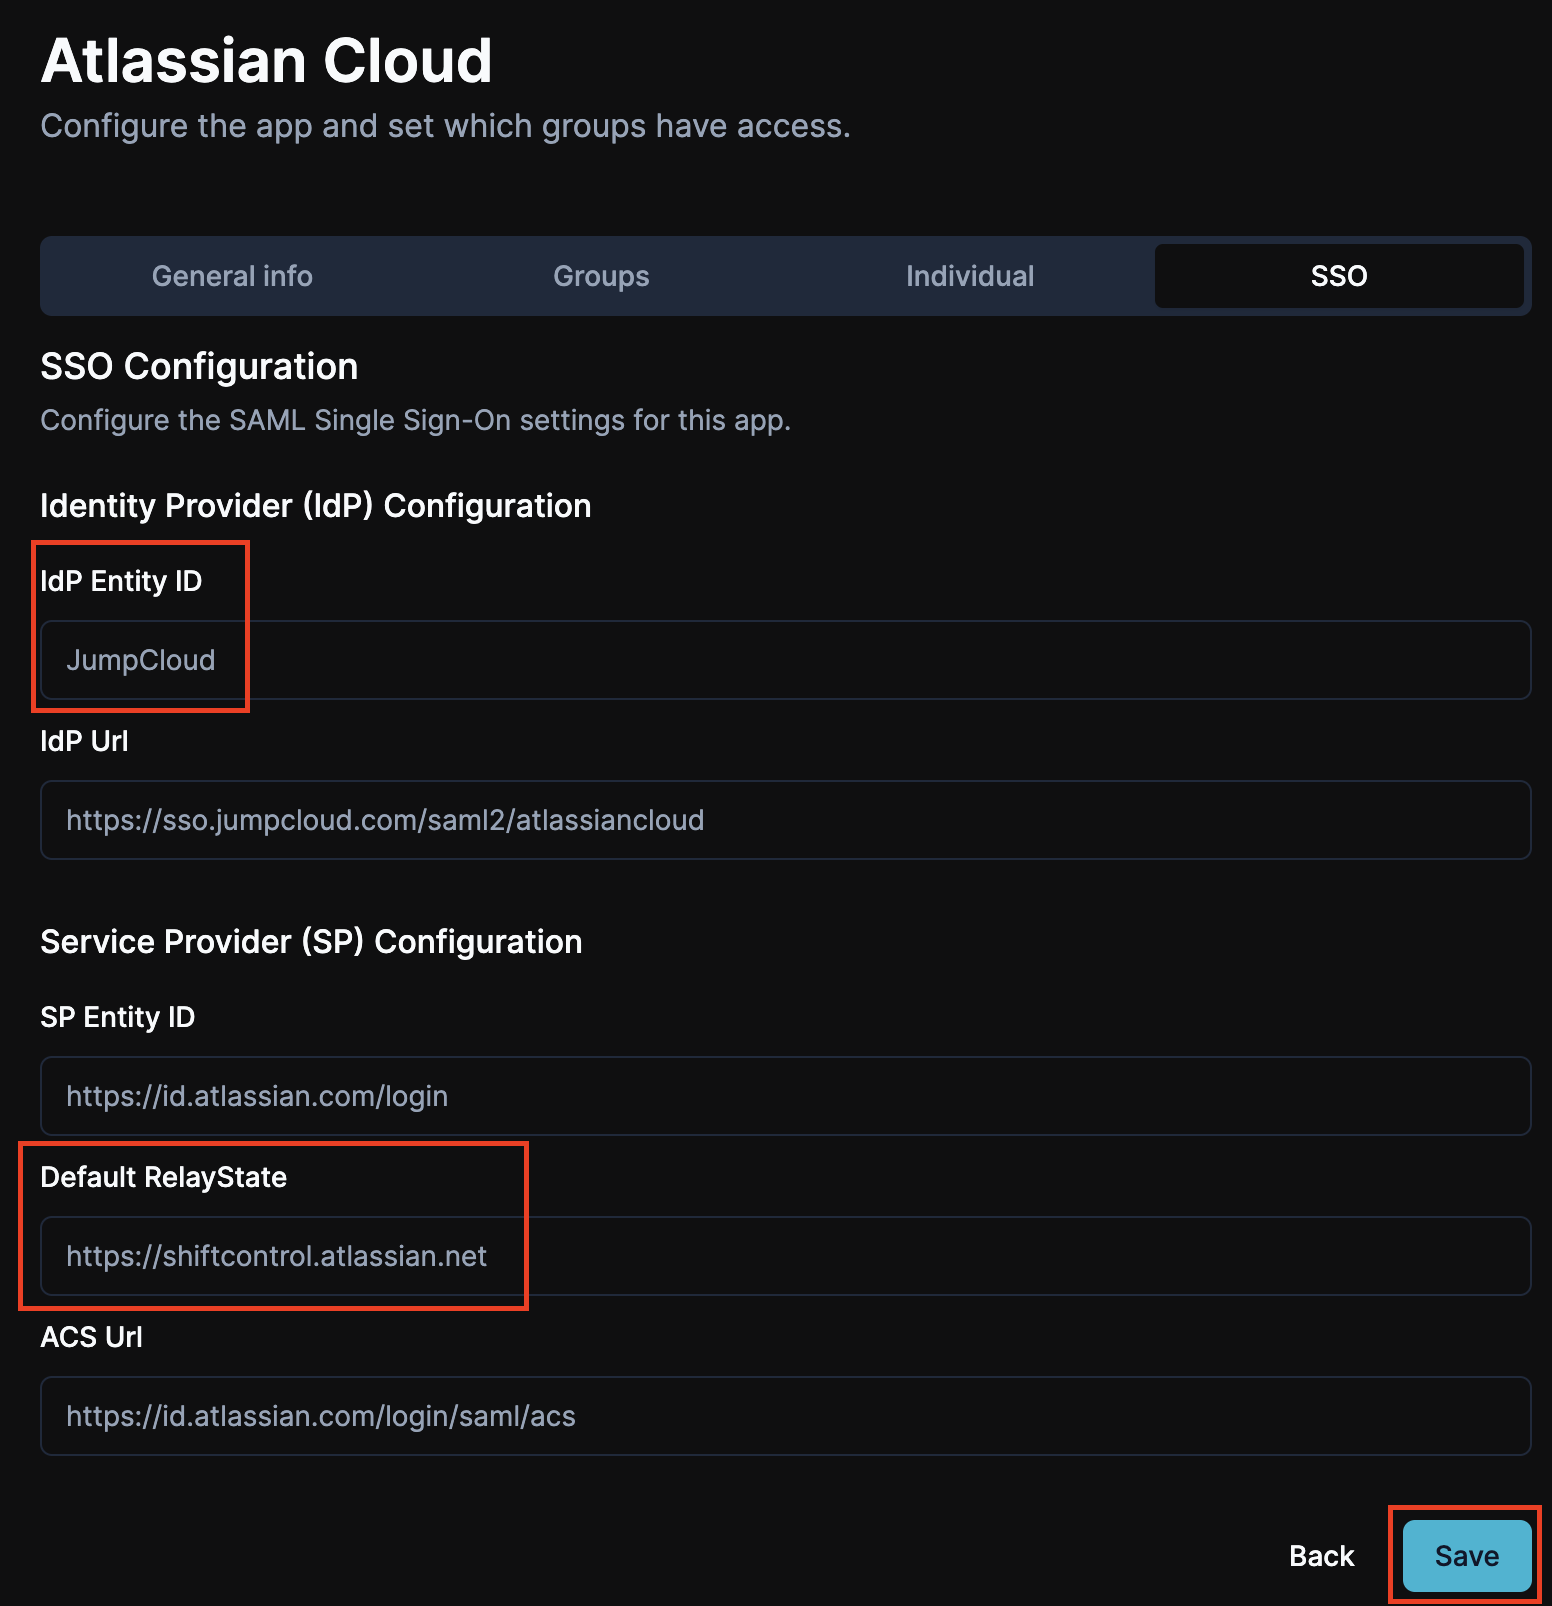
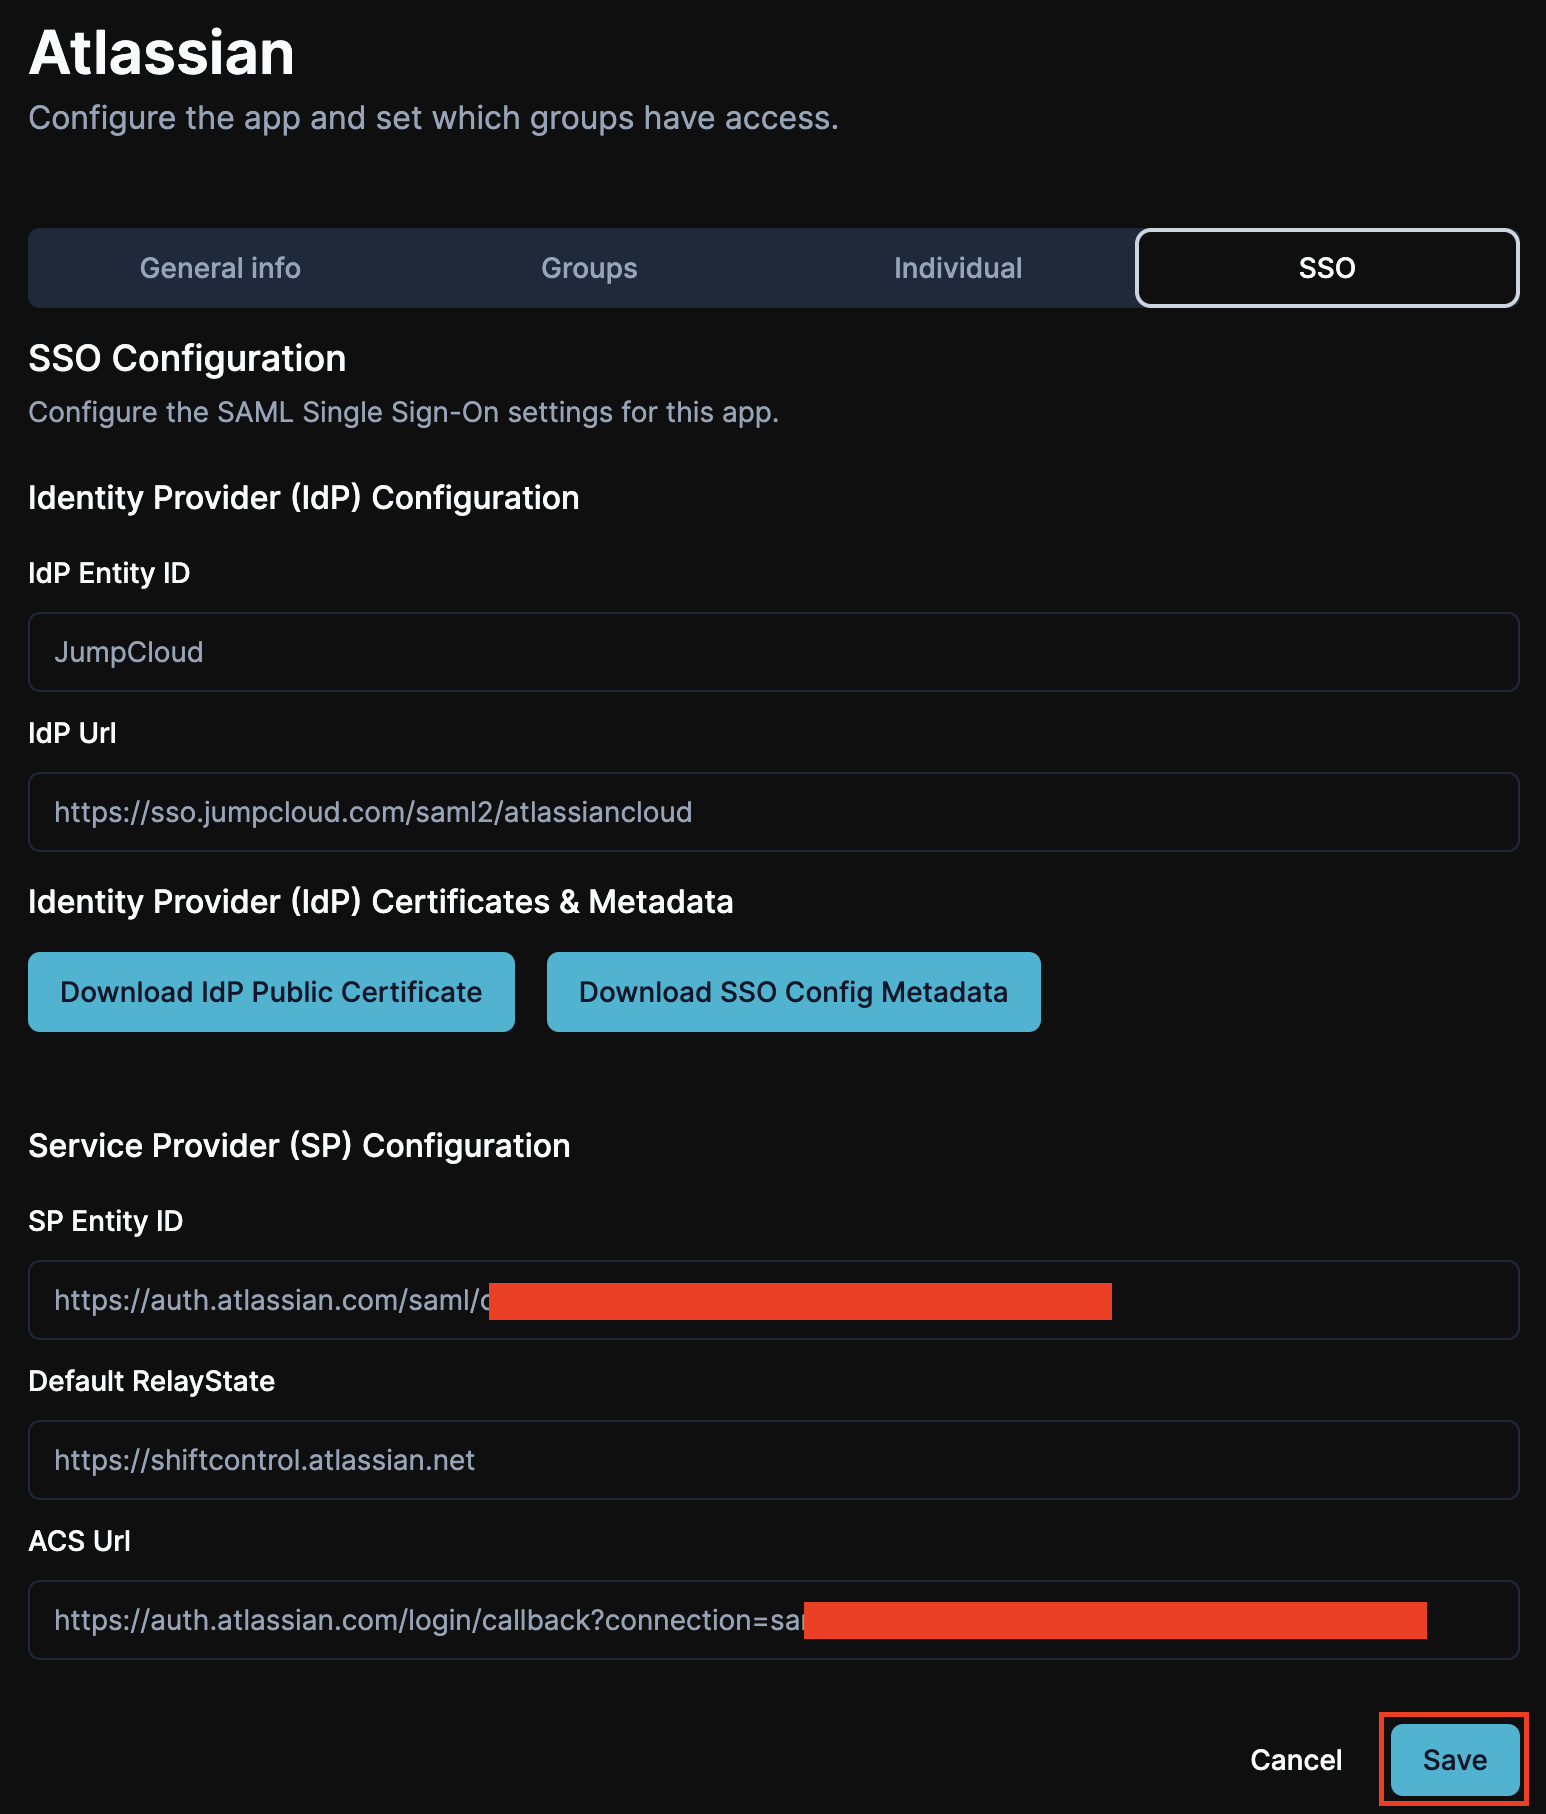
Go to the SSO tab, configure SSO and Save
Click on the SSO tab to configure your SSO settings.
- Update the IdP Entity ID to: JumpCloud
- Update the Default RelayState to your Atlassian vanity url. (You can find this url under Products->Product Urls in Atlassian)
The rest of the fields can remain as the default, then click Save.
Log in to Atlassian as an admin
Log in to the Atlassian Admin Panel at https://admin.atlassian.com as an admin.
Go to Security
Click on the Security tab at the top.
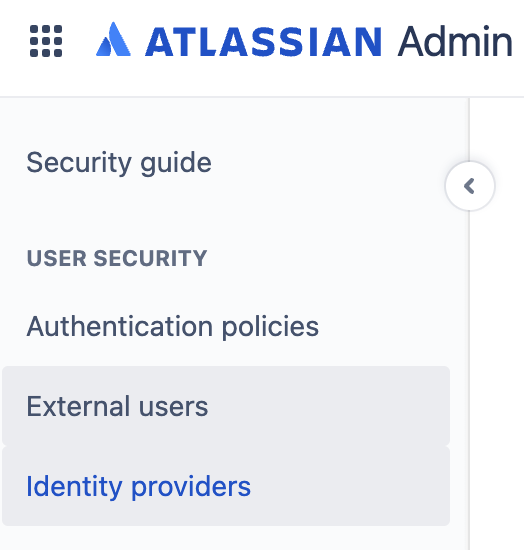
Go to Identity Providers
Click on the Identity Providers menu on the left.
Choose JumpCloud
You'll see a list of supported Identity Providers. Find JumpCloud and click the Choose link.
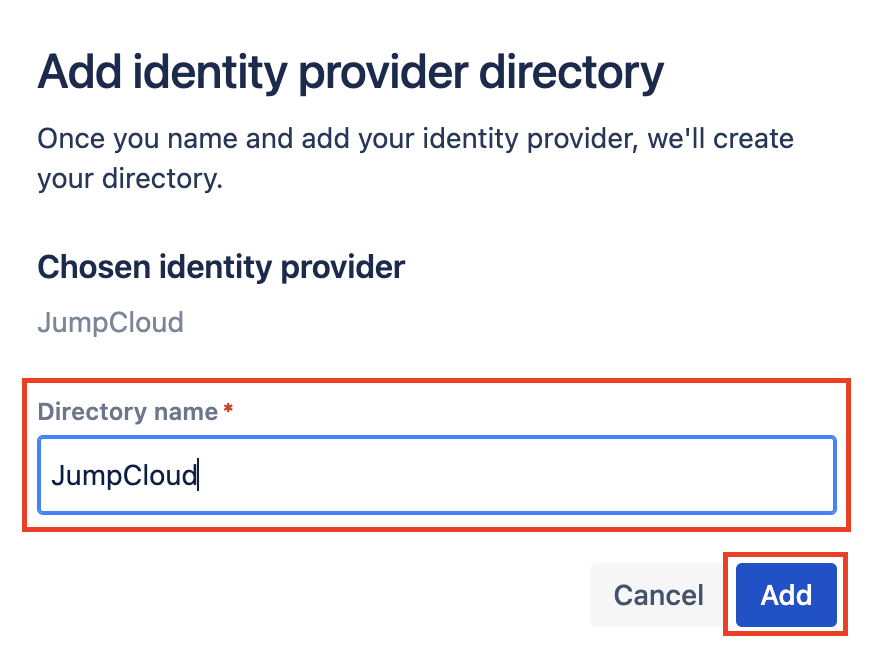
Set the directory name
Enter "JumpCloud" in the directory name and click the Add button.
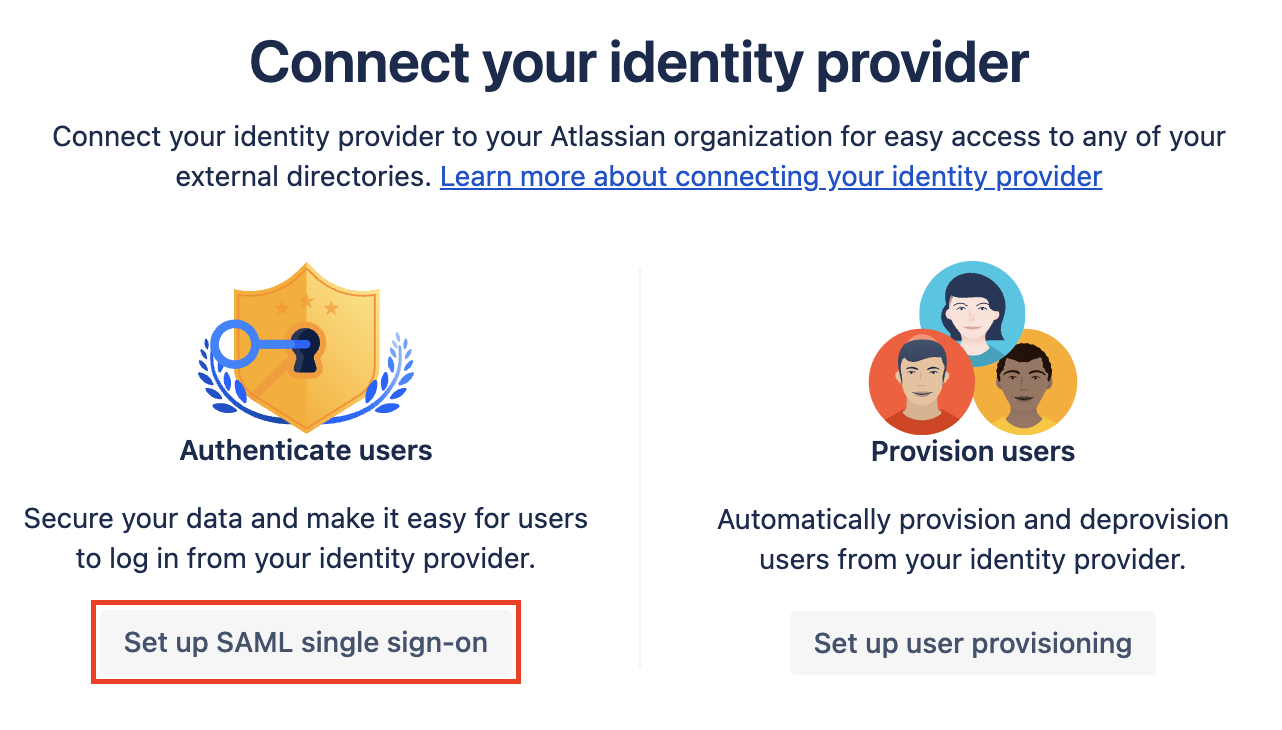
Choose Set up SAML single sign-on
We have two options, first we'll set up Single Sign-on, and we'll enable provisioning afterwards.
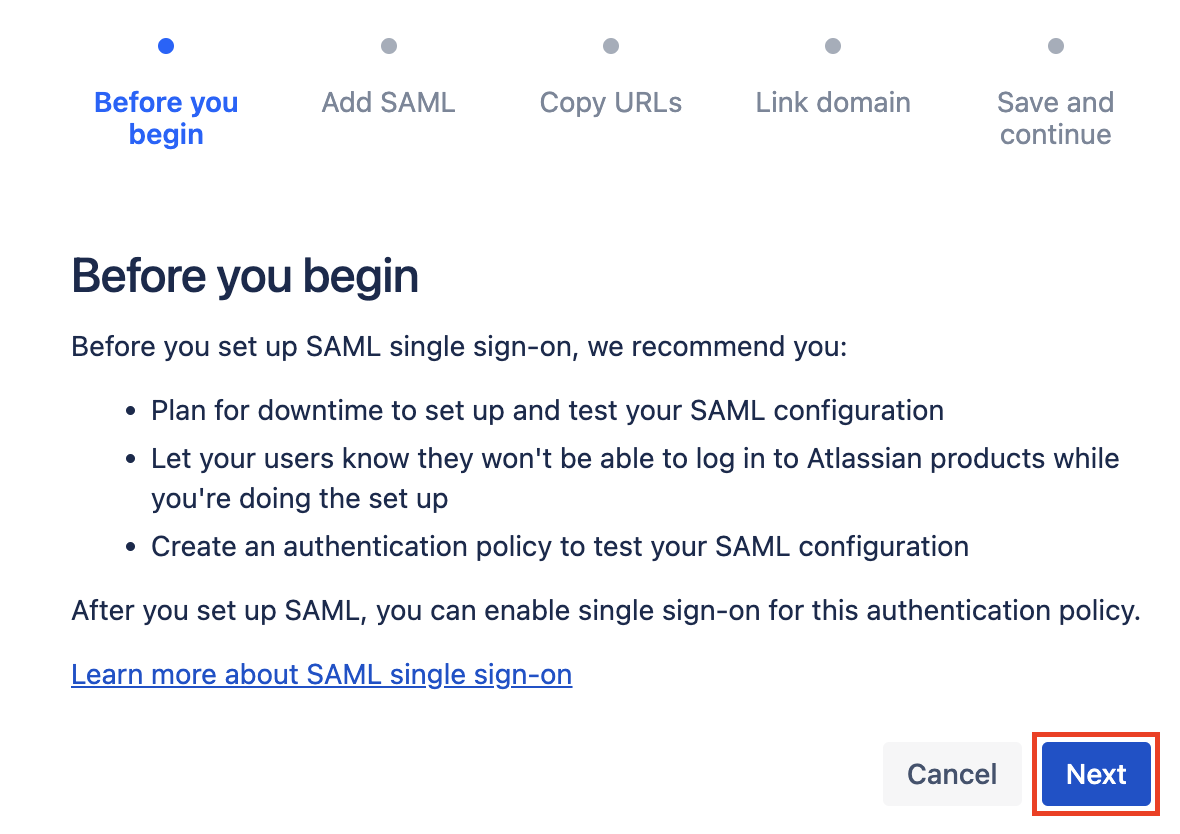
Click Next
Review the warning and click Next. We'll be setting up SAML via a policy to test it, and then you'll cut over/enable it for all users afterwards - at a time of your choosing.
Edit the Atlassian app in ShiftControl
In the apps section in ShiftControl, click on Edit for the Atlassian App and browse to the SSO tab. We will need to copy some information from this page to the Atlassian Page.
Download the certificate
Click on the Download IdP Public Certificate button to download the certificate.

Fill in the SSO fields for Atlassian
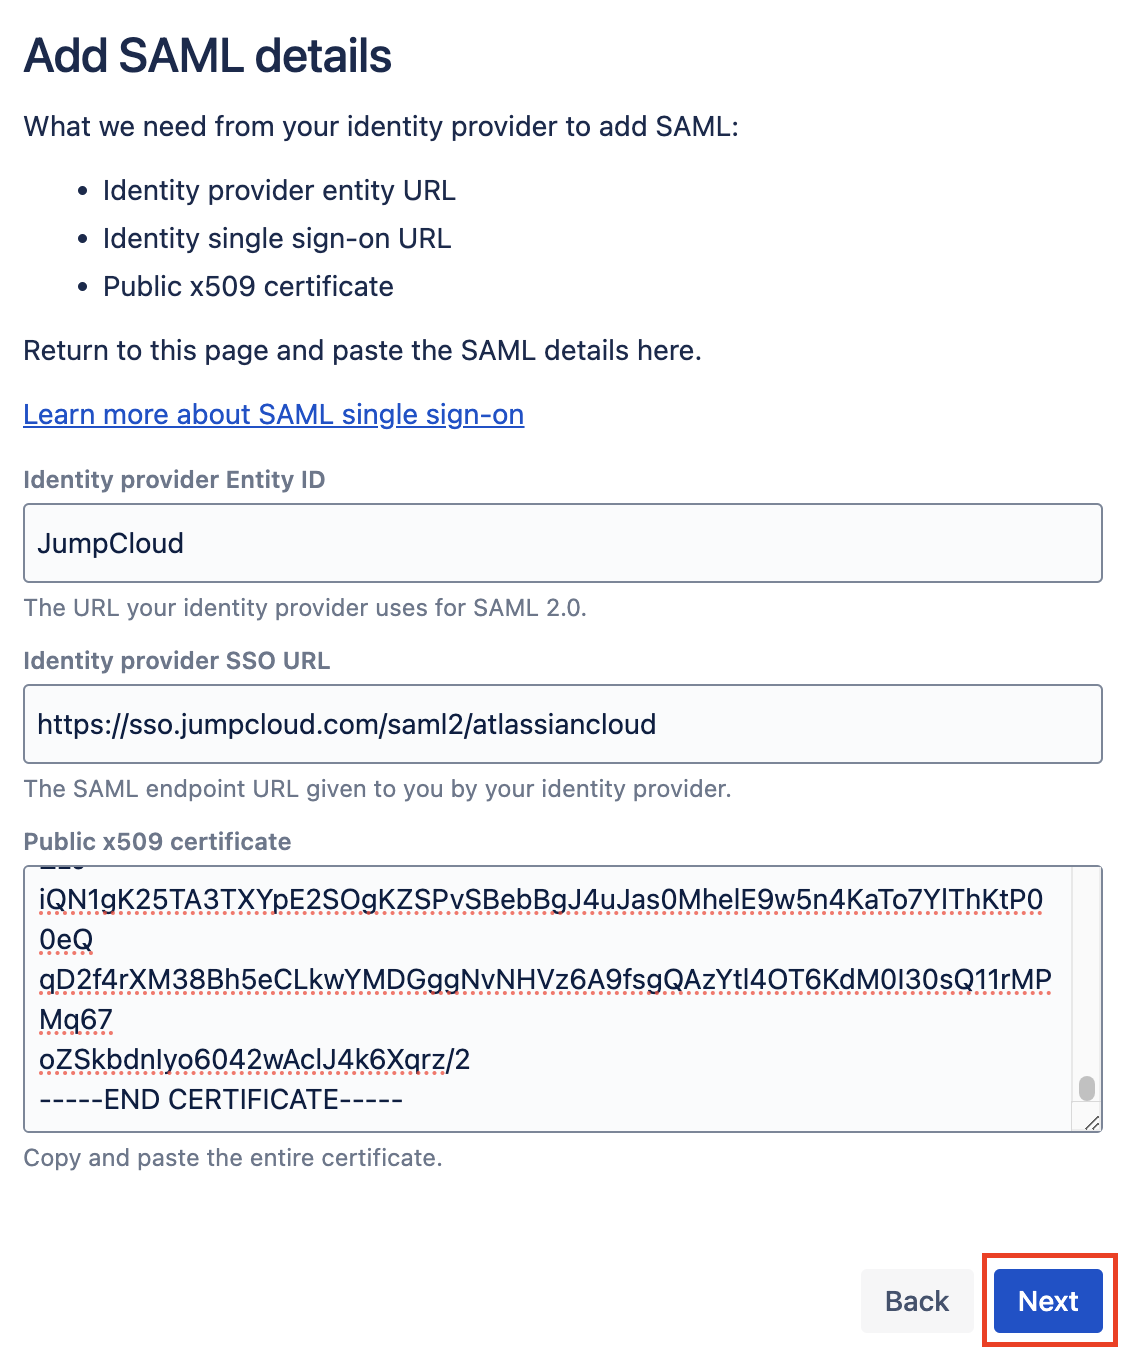
Fill in the fields by copying the information from the ShiftControl App.
- Identity provider Entity ID - This field is IdP Entity ID in ShiftControl and the value should be JumpCloud.
- Identity provider SSO URL - This field is IdP Url in ShiftControl.
- Public x509 certificate - Open the certificate you downloaded in a text editor (Like Notepad) and then copy and paste it into this field.
Verify the details and click Next
Your screen should look similar to the image below. Once you have verified your entries, click Next.
Copy the Atlassian SSO configs to ShiftControl
Now that we've completed providing Atlassian with our settings, we need to take their settings and save them into the app on ShiftControl.
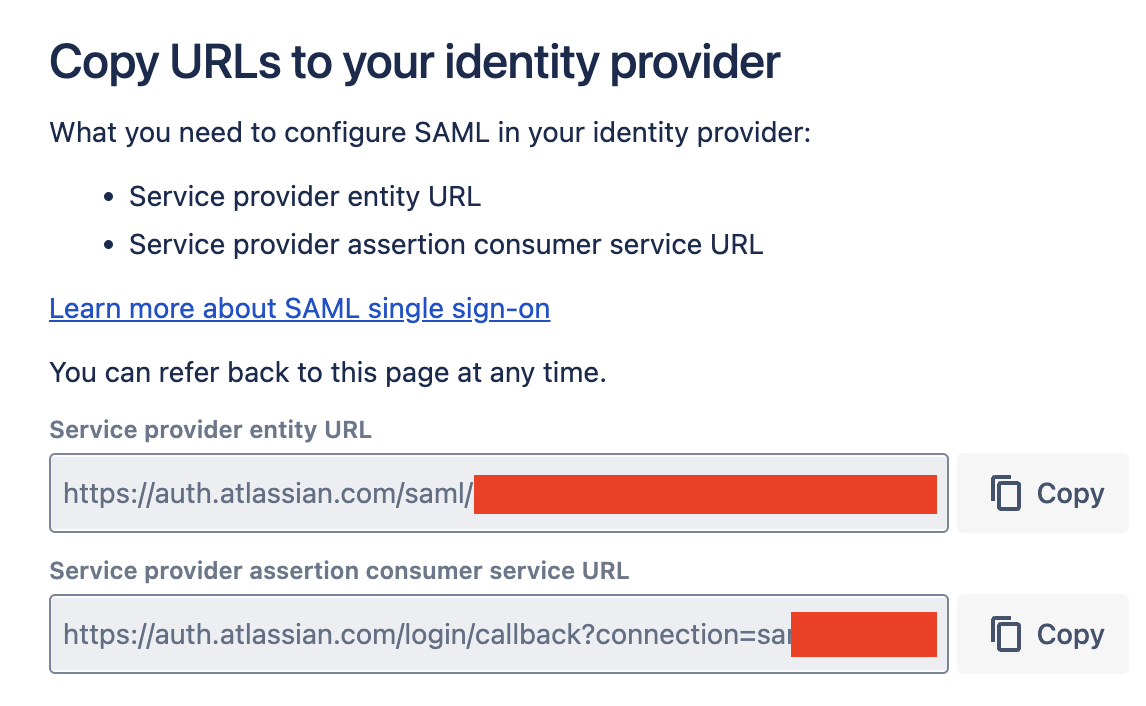
- Service provider entity URL - This field is SP Entity ID in ShiftControl. Copy the value in.
- Service provider assertion consumer service URL - This field is ACS Url in ShiftControl. Copy the value in.
Your configuration should look similar to the one in the image below. Review your settings and click Save.
Click next on Atlassian
Not that we're done copying the settings, click Next.

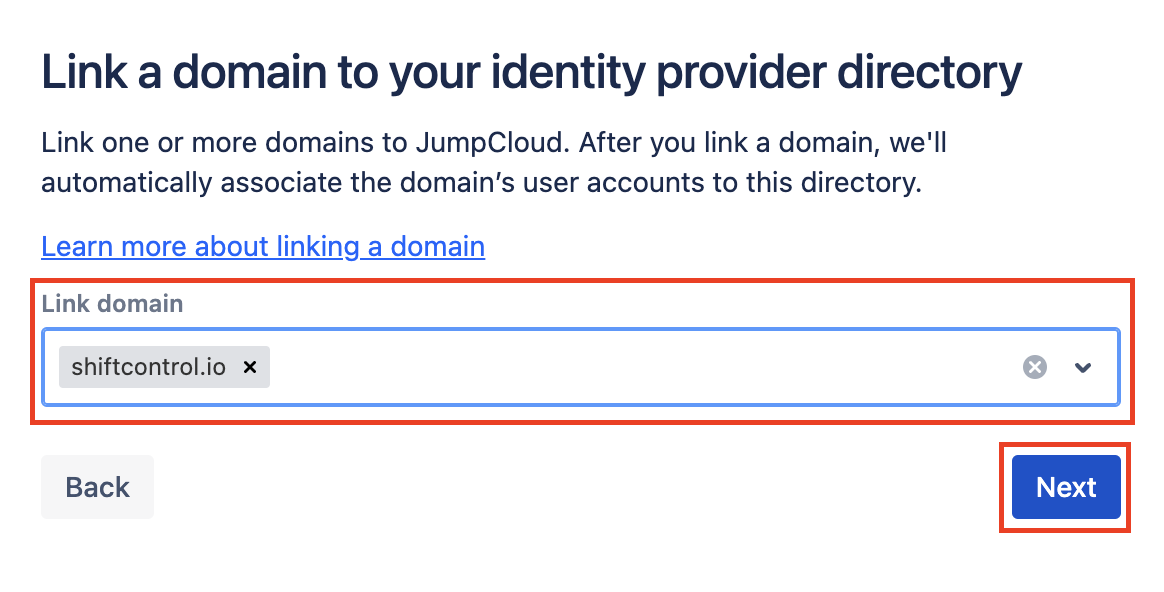
Select your domain and click Next
Click on the pull down and select your domain and click Next.
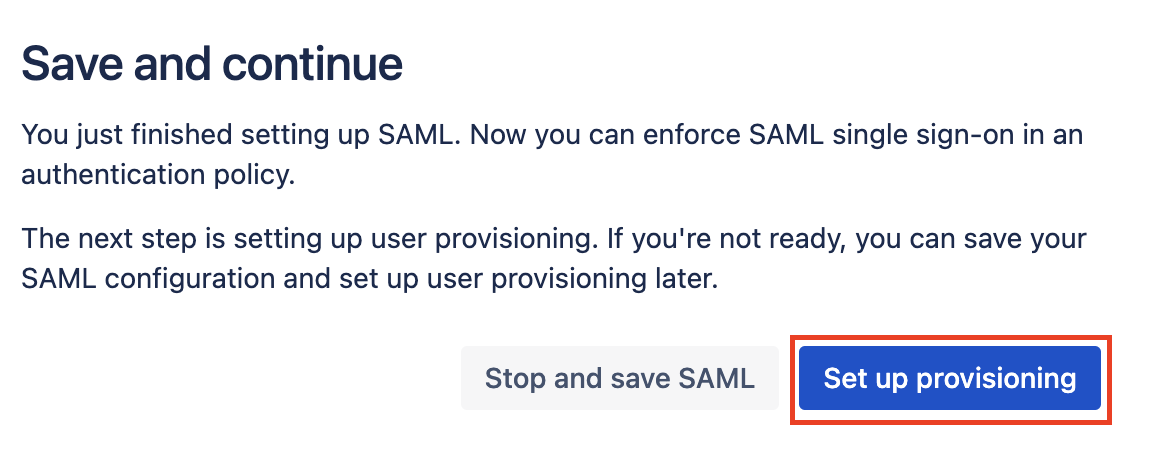
Set up provisioning
We're now done with the SSO configuration. One of the more powerful aspects of this kind of setup is that we can automatically provision and deprovision users as you assign or remove the app from them in ShiftControl or when you disable or delete a user. Click on Set up provisioning.
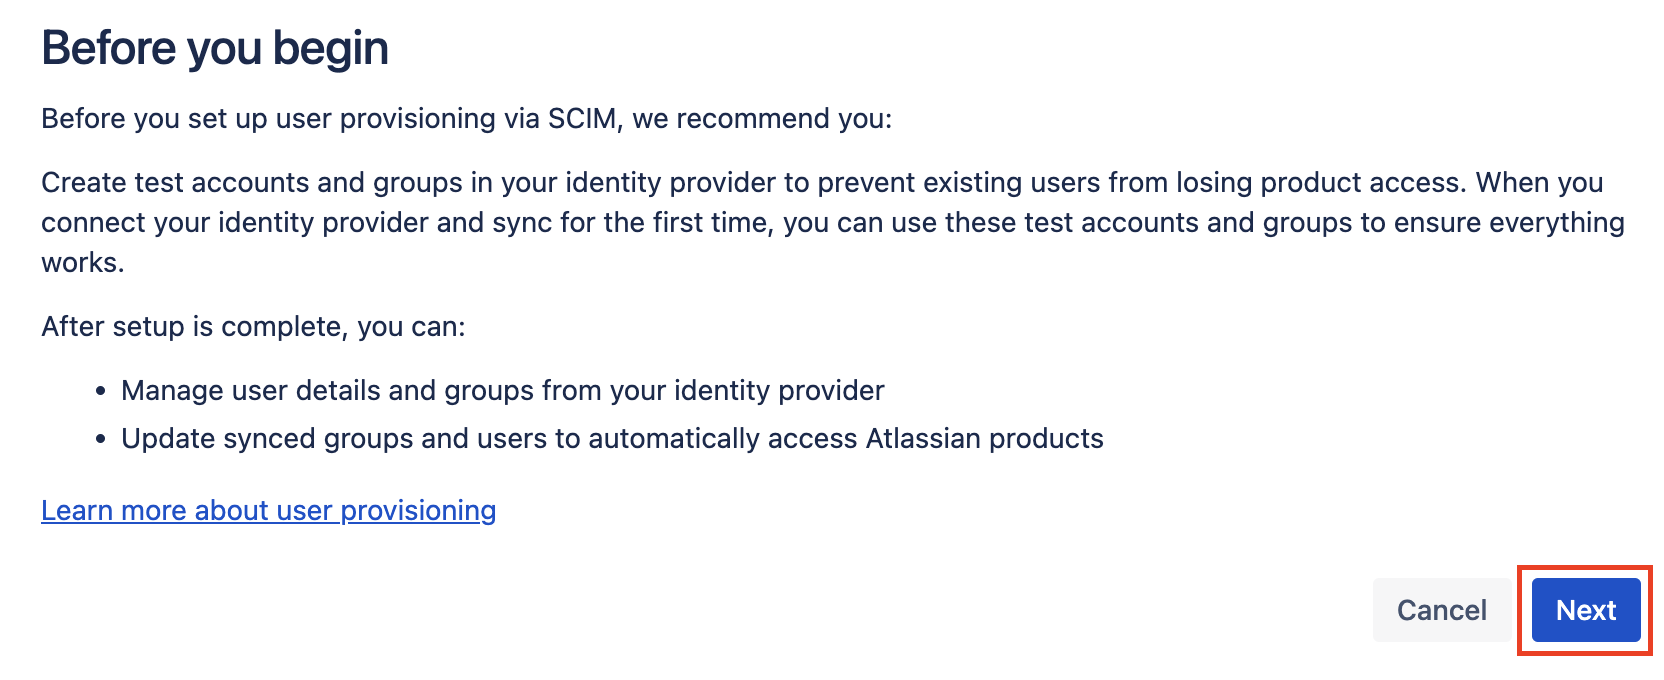
Review the warning and click Next
Review the warning and click Next.
Log in to JumpCloud Admin
Make sure you log in to the JumpCloud Admin portal at https://console.jumpcloud.com/login/admin with your admin account.
😠 JumpCloud APIs do not yet allow us to fully configure user provisioning, you’ll need to do this step in the JumpCloud platform. We’re actively working with JumpCloud to allow this kind of configuration via APIs.
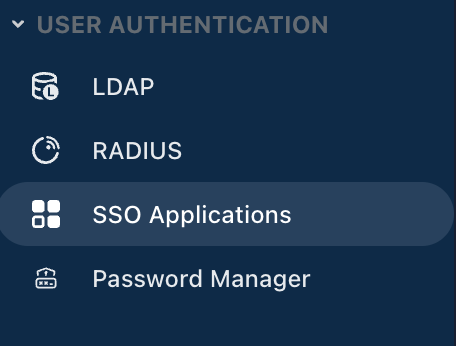
Go to SSO Applications
Go to SSO Applications on the left hand side.
Access the Atlassian Application
Choose the Atlassian app from the list. It'll be named here the same way it is named in ShiftControl.

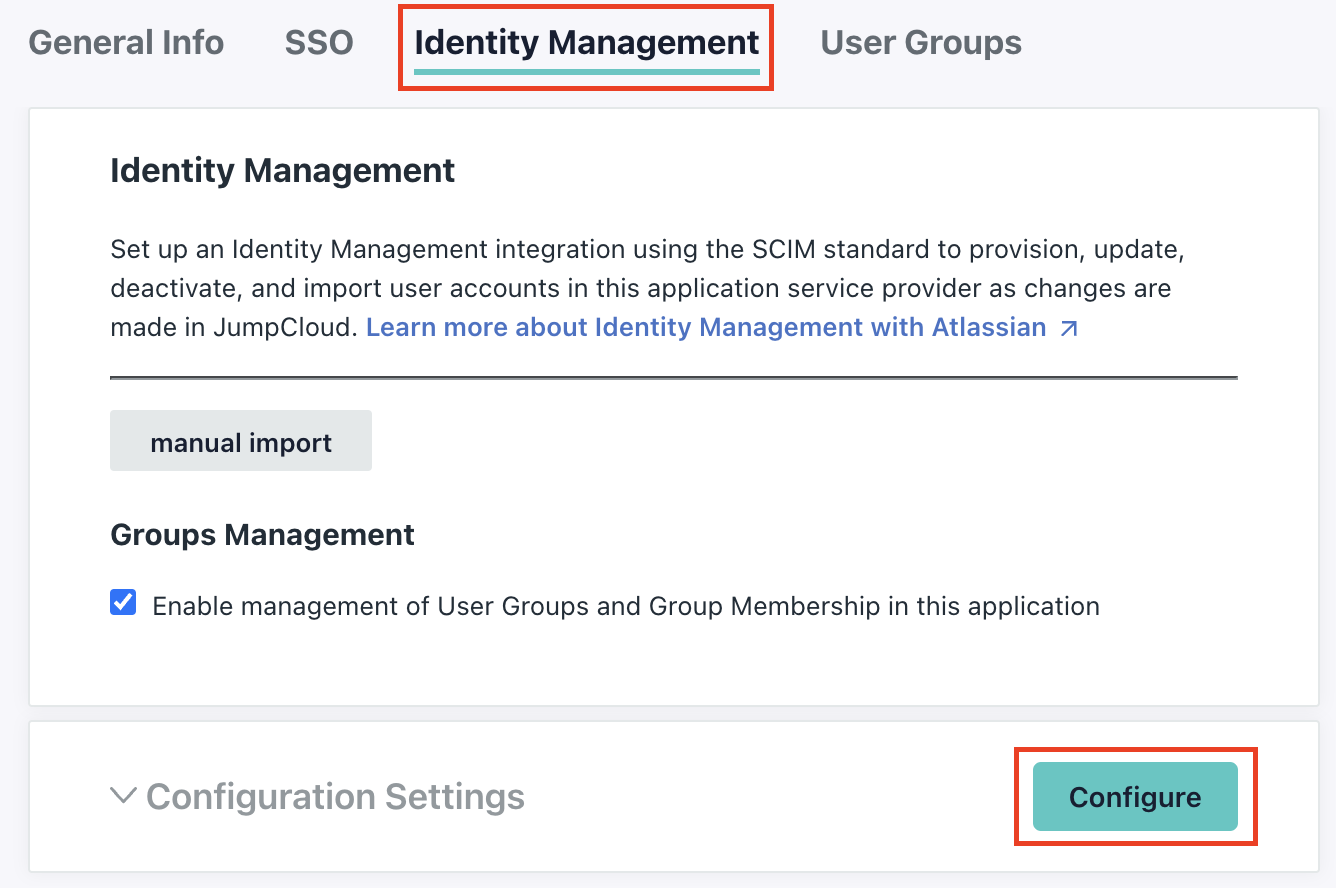
Access Identity Management
Click on the Identity Management tab and click on the Configure button next to Configuration Settings.
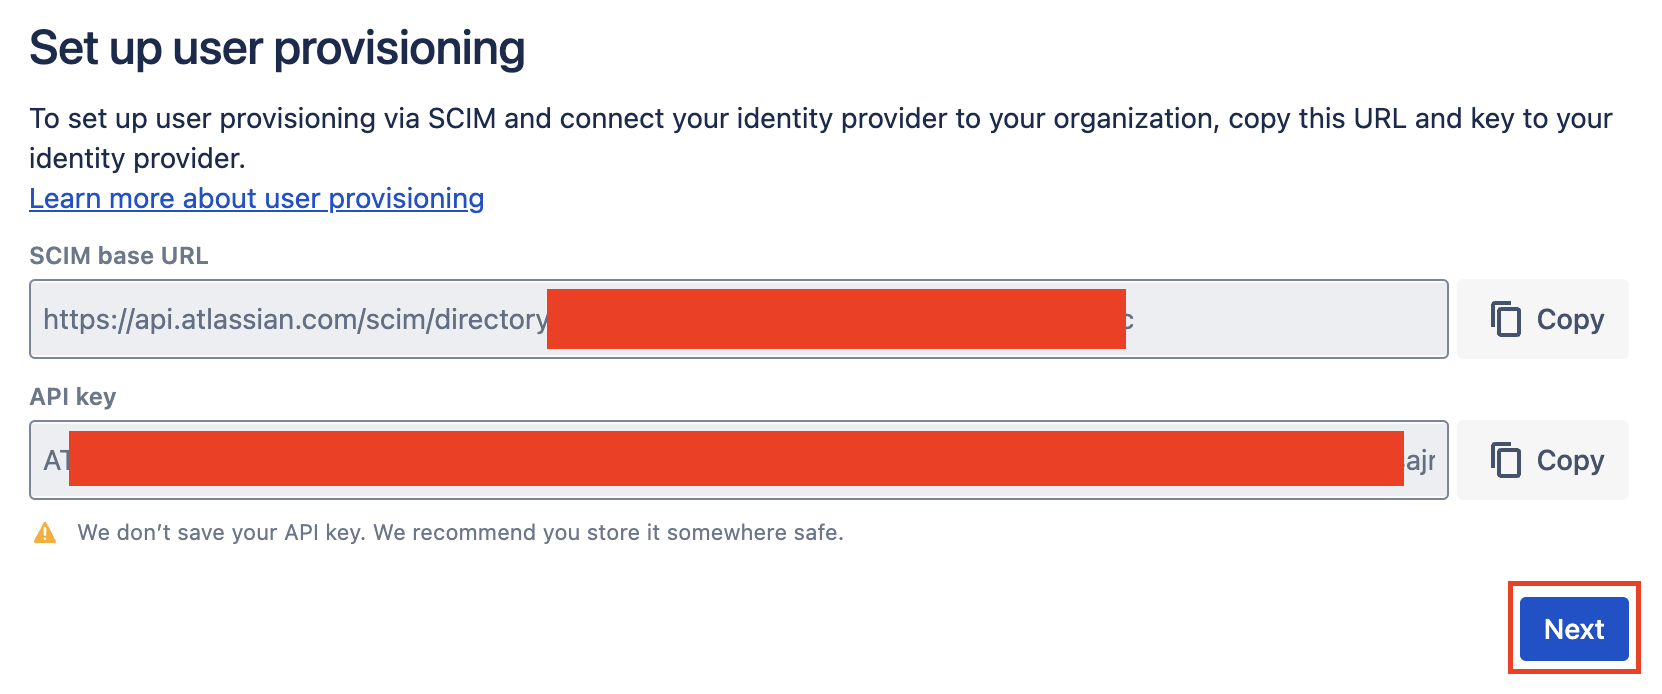
Configure the SCIM Endpoint
Copy the SCIM Base Url from the Atlassian site and paste it in the Base Url field in JumpCloud.
Configure the Token Key
Copy the API key from AWS and paste it into the Token Key in JumpCloud.
Activate identity management
Click Activate

Save the changes
Click Save in the JumpCloud app. You can close JumpCloud Admin.
Click next in Atlassian to finalize provisioning
We're done configuring provisioning, click next in the Atlassian site.
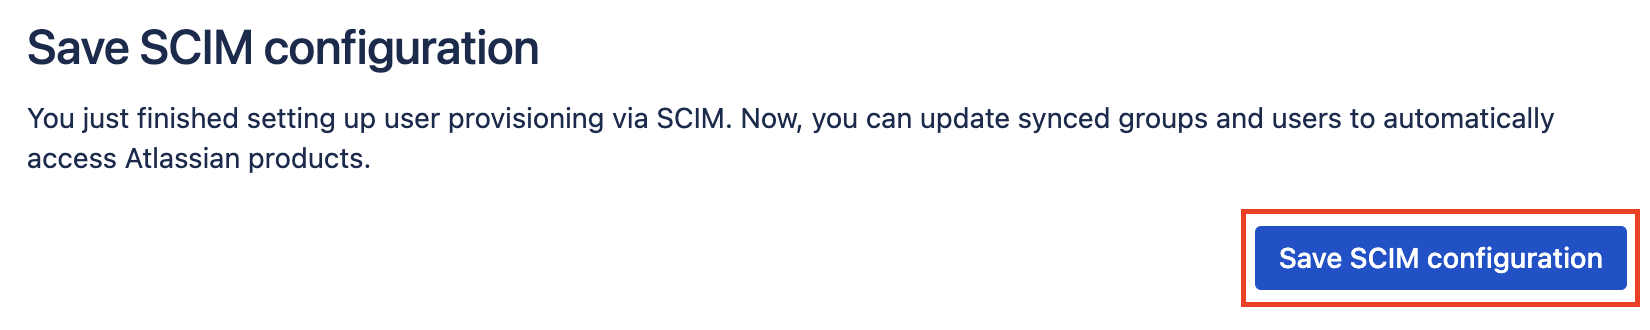
Save the SCIM configuration
Finally, save the SCIM configuration.
Go to Security
Click on the Security tab at the top.
Go to Authentication Policies
Click on the Authentication Policies menu on the left.
Go to Authentication Policies
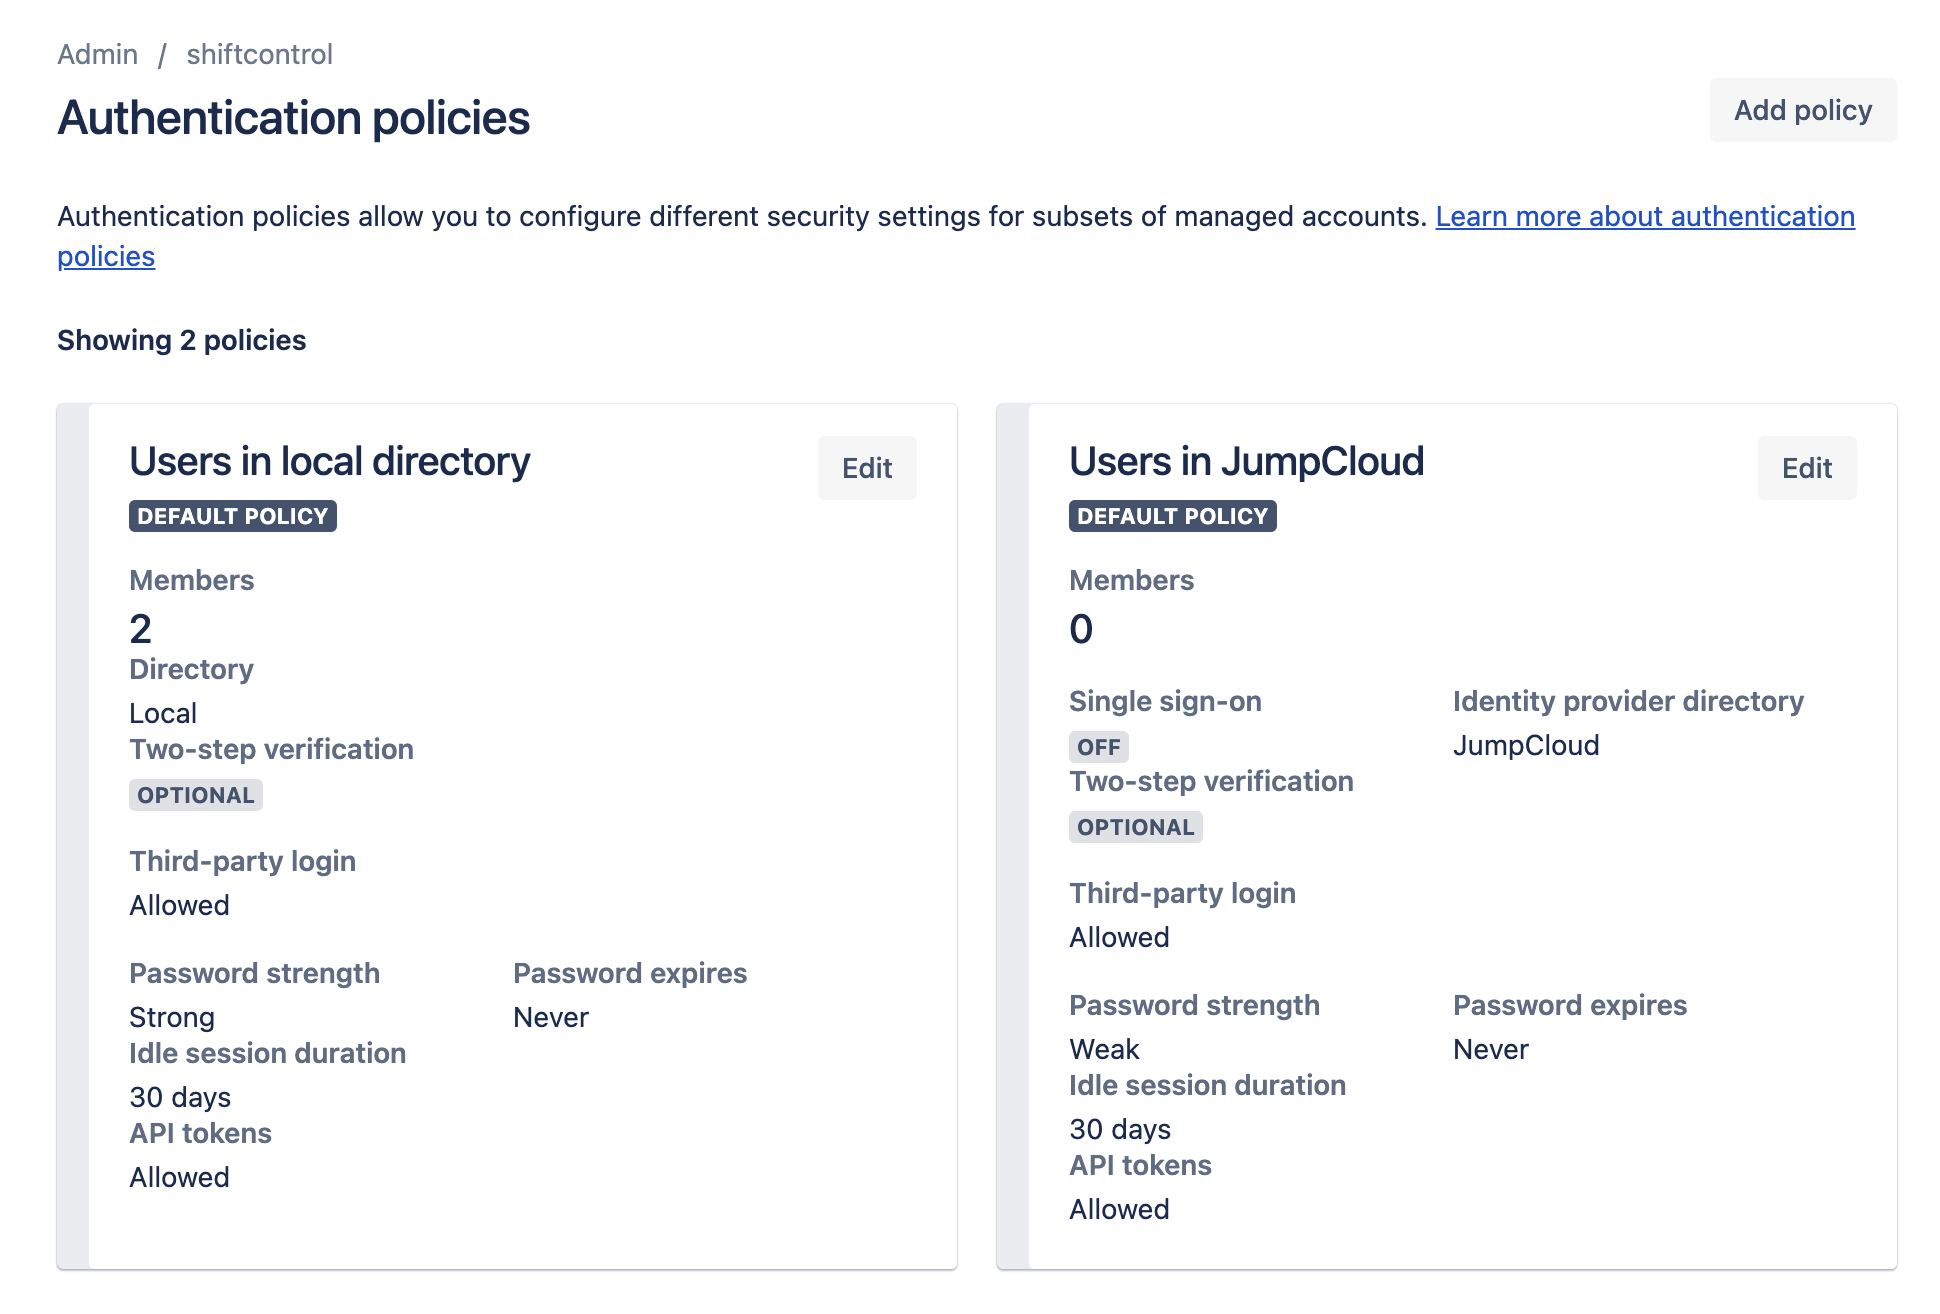
You'll now see a new policy called "Users in JumpCloud". You'll notice that by default Single Sign-On isn't enforced, we'll need to enforce it.
You will be able to see how many members are tied to each policy, and can see the details if you click on Edit for the policy and view the Member tab. If you don't have any members assigned to the SSO policy, you'll need to make sure you assign users or groups to the app in ShiftControl.
Users will be in either in the local directory policy or the JumpCloud policy, depending on when they were created.
| When the user was created | Policy Assignment |
|---|---|
| Existing user created before SSO configuration | The user will be in the local directory policy until they are moved to the SSO policy. |
| A user synced in via User Sync that didn't exist before SSO configuration | The user will be in the JumpCloud policy from the start. |
Edit the JumpCloud Policy
Click Edit on the JumpCloud Policy
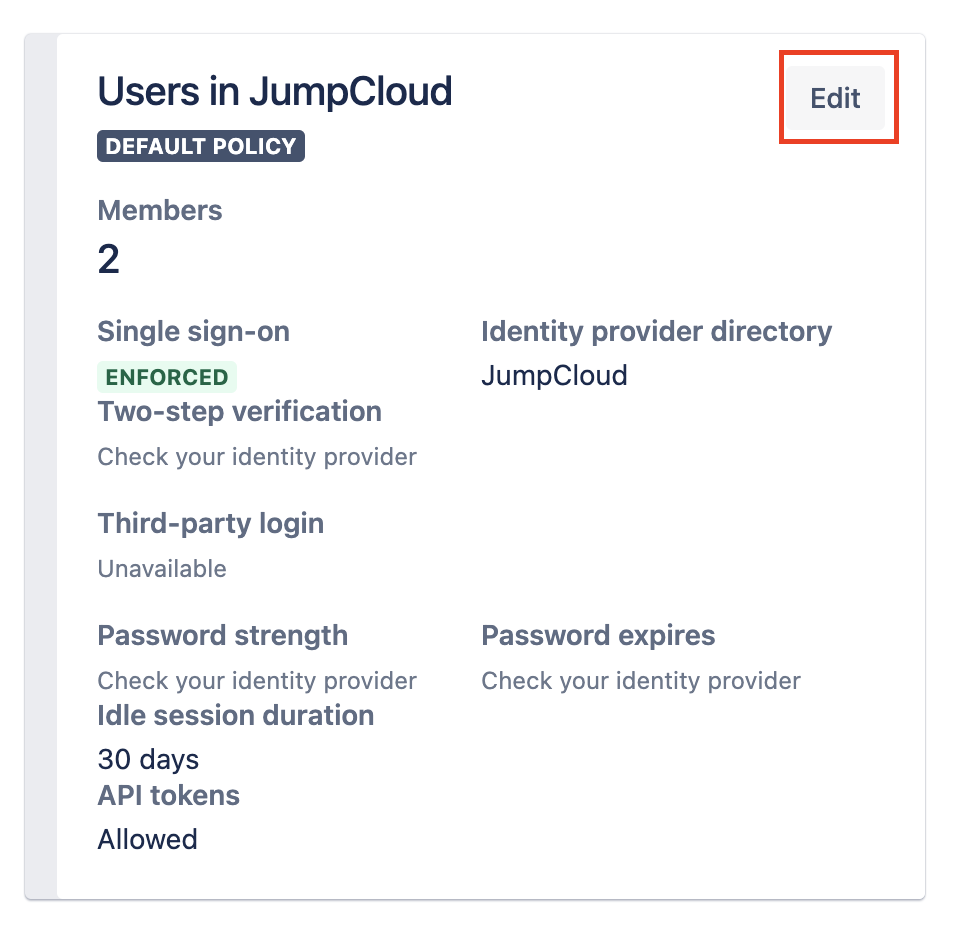
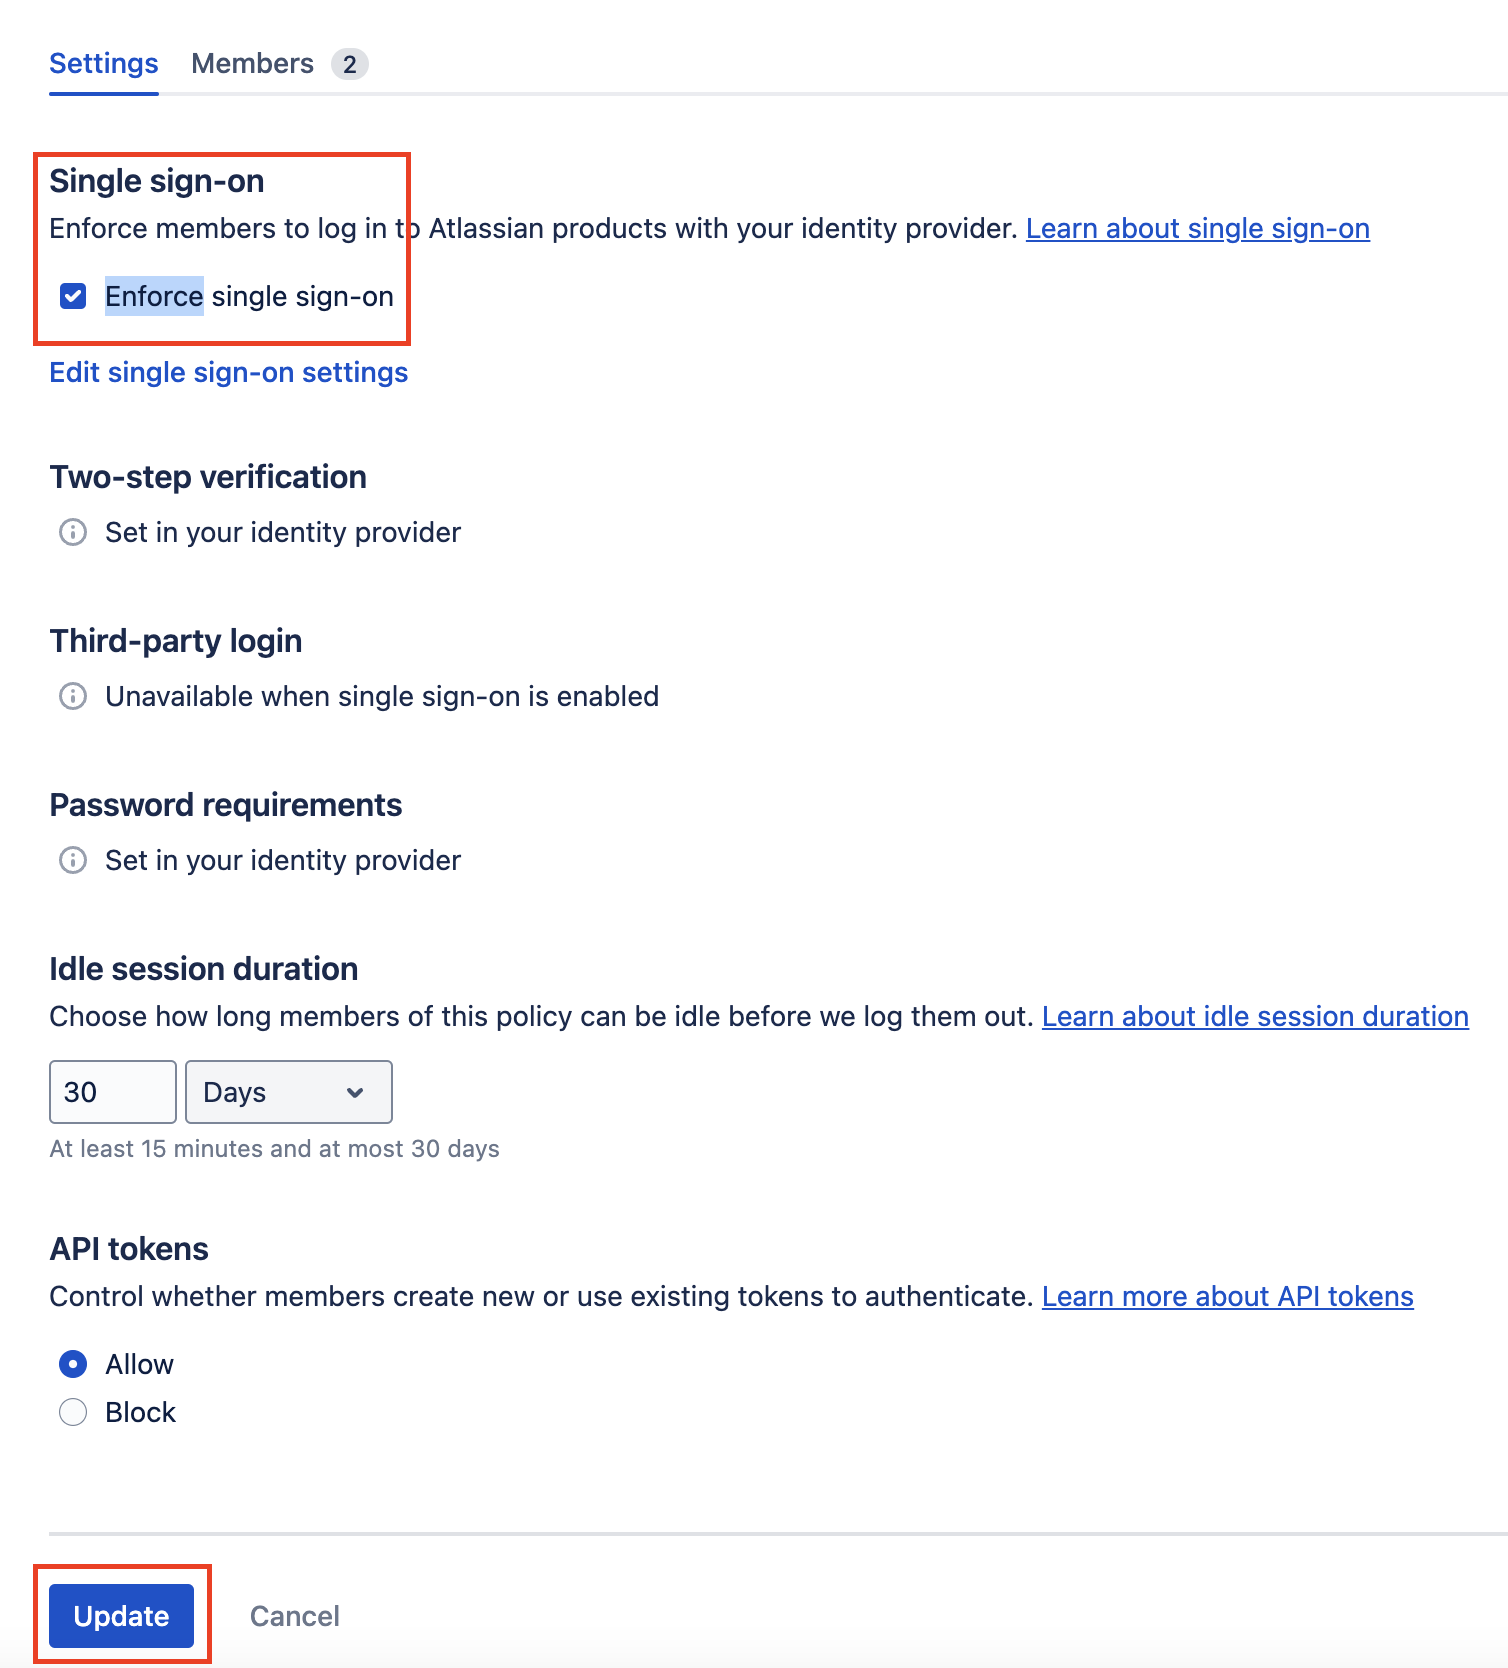
Enforce SSO
Select the Enforce Single Sign-on option, and click Update. SSO will not work properly until you enforce it.
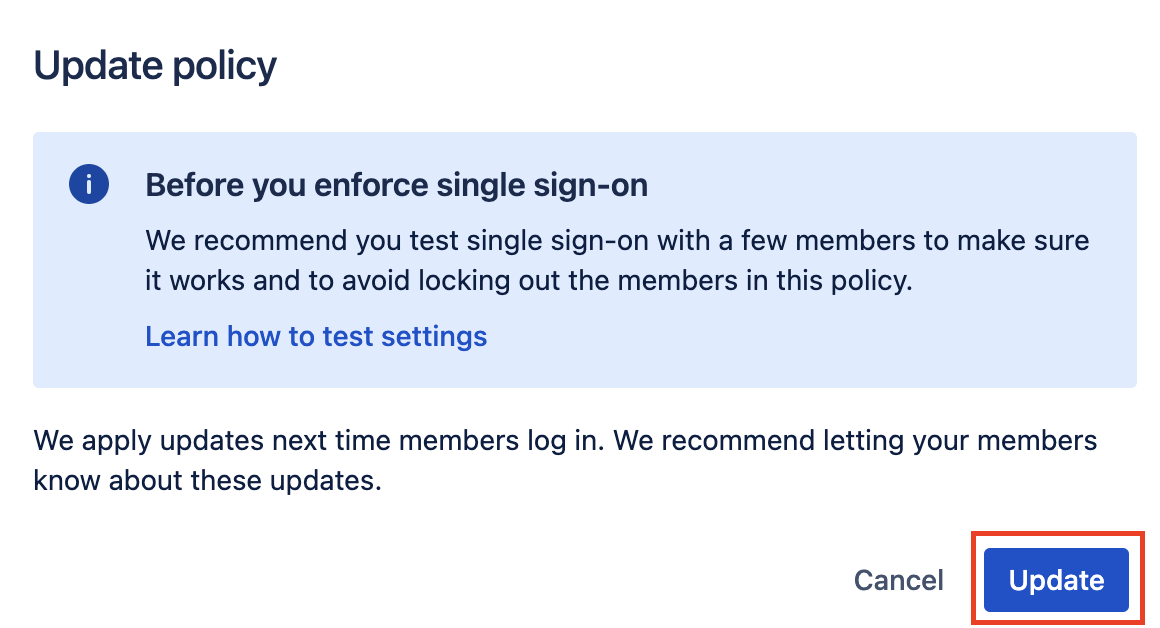
Confirm the update
Confirm the SSO policy update by clicking Update.
Congratulations, you have configured SSO and User Sync for Atlassian!
Understanding Group Sync
One powerful feature of ShiftControl and this integration with Atlassian is the ability to sync groups to Atlassian and update them dynamically. You can use these groups in your permissions scheme or anywhere you can reference a group in Atlassian.
Any group that you assign to the Atlassian app in ShiftControl will automatically be synced to Atlassian.
You can view the groups that are synced in the Atlassian site.
Log in to Atlassian as an admin
Log in to the Atlassian Admin Panel at https://admin.atlassian.com as an admin.
Go to Security
Click on the Security tab at the top.
Go to Identity Providers
Click on the Identity Providers menu on the left.

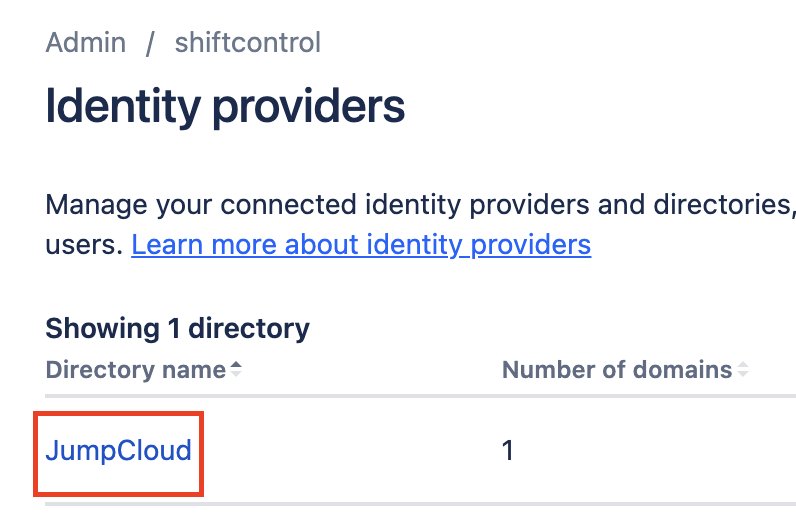
Click on JumpCloud
Click on the directory named JumpCloud.
Click on View groups
Click on the View groups in order to see which groups have been synced.

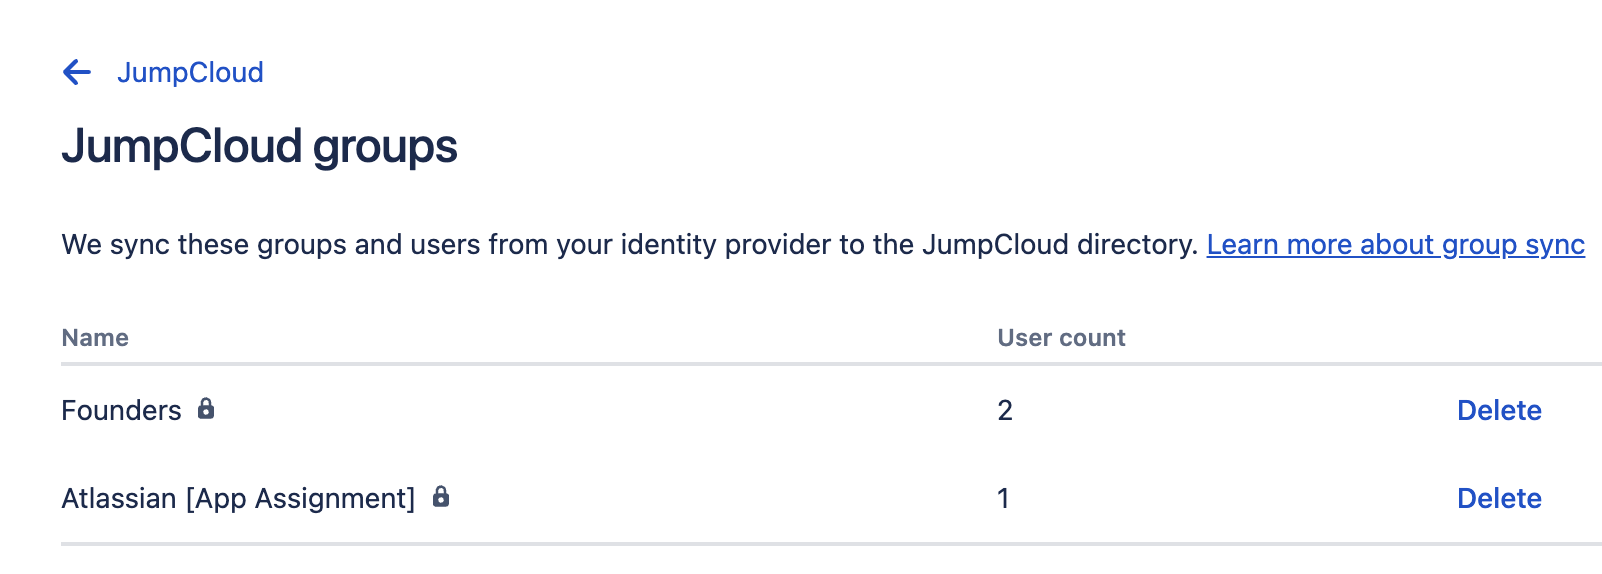
Review the synced groups
You can view the groups that are synced in from JumpCloud and how many members are in each.
Assigning users to the SSO Authentication Policy
You should only take this step once you are ready to have everyone in your organization use SSO to log in to Atlassian.
Prerequisites
You should already have added all the users to the application in ShiftControl. If you miss this step, then the users will be forced to use SSO but they won't be able to login because they wouldn't have yet been assigned the application.
Move users to the JumpCloud Authentication Policy
Log in to Atlassian as an admin
Log in to the Atlassian Admin Panel at https://admin.atlassian.com as an admin.
Go to Security
Click on the Security tab at the top.
Go to Authentication Policies
Click on the Authentication Policies menu on the left.
Edit the JumpCloud Policy
Click Edit on the JumpCloud Policy
Go to Members and click Add Members
Click on the Members tab at the top and then click the Add Members button.
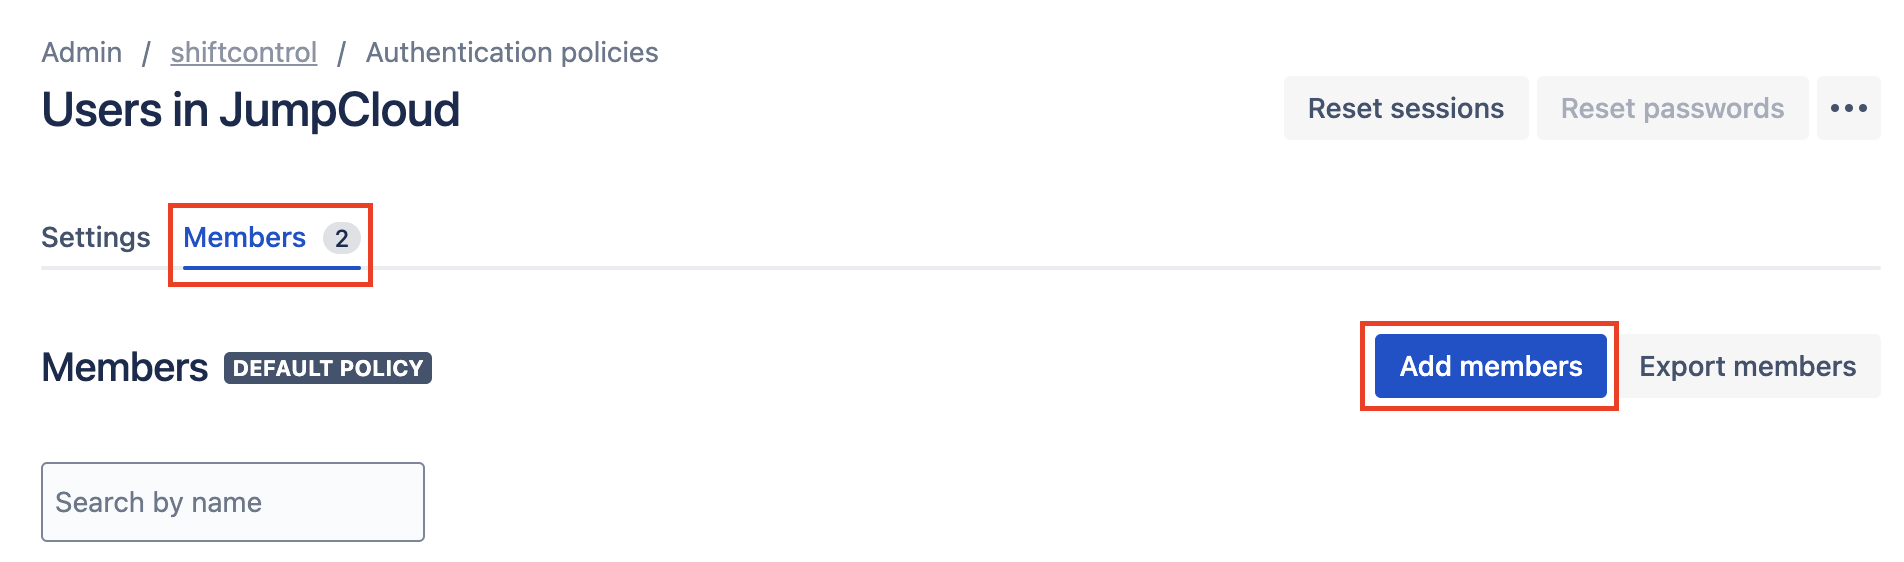
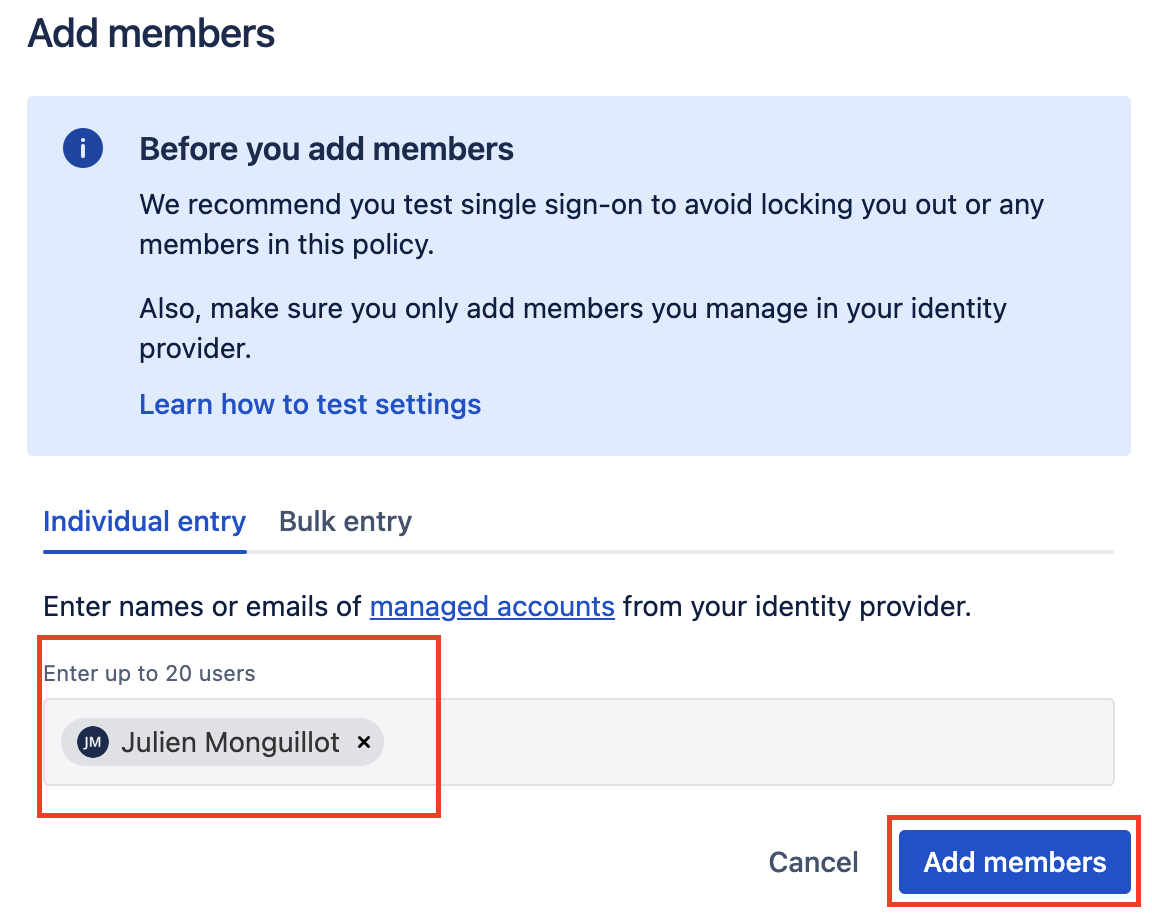
Select members to add and click Add members
You can manually enter up to 20 members to add here and then click Add members.
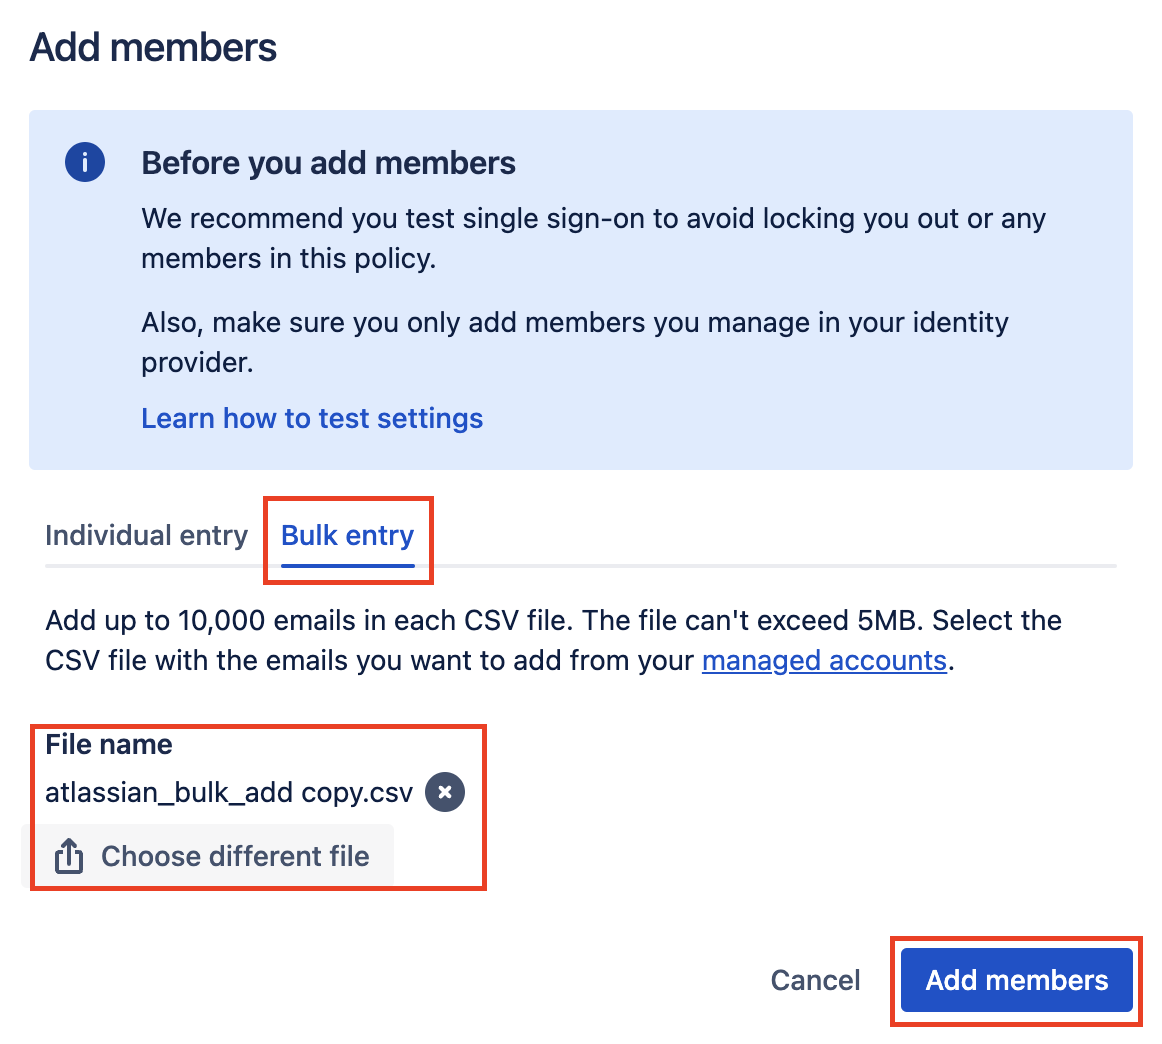
[Optional] Bulk import members
If you'd like to add members in bulk, you can do so with a csv file. Save the info from the box below and modify the list of emails by adding all the emails you'd like to add, and then save it as a csv file.
Then click on Bulk Entry, Select your CSV File and click Add members.
You'll receive an email when the users are done being added to the policy. You can then go back into the policy to view and confirm the members.