Microsoft Azure
Overview
ShiftControl supports both user sync and Single Sign-On (SSO) for Azure Entra ID. Once configured all users will need to sign in to Azure via JumpCloud.
Microsoft calls their Active Directory Microsoft Entra ID.
Supported Licenses
Entra ID supports Single Sign-On (SSO) for all licenses and accounts!
What you need to know
Configuration Options
You have two options for configuring the Azure integration.
- [Complex] Fully integrate Azure AD with JumpCloud
- Users will be able to sign into Azure using their JumpCloud account directly
- Provides user provisioning and deprovisioning
- [Simpler] Integrate SSO & Cloud Directory Sync for Azure (Entra ID)
- Provides user provisioning and deprovisioning
- Users will be able to sign into Azure using their JumpCloud account directly
- You will not be able to sign in to Azure without using JumpCloud
You can see more about the differences here: https://jumpcloud.com/support/Entra ID-directory-integration-and-saml-connector
This document focuses on option 2.
Integrating SSO & Cloud Directory for Azure (Entra ID)
JumpCloud has a comprehensive (but slightly out of date) article here: https://jumpcloud.com/support/sso-with-Entra ID
Prerequisites
There are some prerequisites that you’ll need to meet before you can complete this configuration.
- You’ll need to enable Azure AD Cloud Directory Integration/Sync and ensure any user that you want to sign in via SSO to Azure is bound to that directory, if they aren’t, they won’t have a special immutable Microsoft ID.
- PowerShell is required to modify Entra ID Federation configurations.
- You must be using an account with the Global Admin role to complete this change.
- Go to Entra ID > Users > select the user > Assigned Roles. Your account should have “Global administrator” listed
- If MFA is enforced on end users in both environments, they will be prompted for MFA twice during the login process – once in JumpCloud and again in Entra ID
- Confirm the following in Azure Active Directory > Custom Domain Names
- The domain you would like to federate (e.g., YOUR_DOMAIN.com) is listed, verified, and not the Primary/(Default)
- The onmicrosoft.com default domain or another domain you do not want to federate is the Primary/ (Default) domain. Set up a global admin account in your default domain (for example, admin@YOUR_DOMAIN.onmicrosoft.com) so that there is an admin account that can sign in outside of SSO as a failsafe
Important Considerations
- In Entra ID, MFA is automatically turned on when security defaults are enabled, regardless of your other MFA settings. If JumpCloud MFA is enabled while also having Entra ID MFA enabled, end users will encounter two separate MFA prompts during the same login
- The default domain in Entra ID cannot be federated
- When SSO is enabled, all users in the email domain you’re configuring SSO for are affected. After SSO is enabled, users aren’t able to log in to Azure using password authentication
General Considerations
- We do not support the GoDaddy implementation of Microsoft 365.
Setting up Azure AD Cloud Directory Sync
Go to the JumpCloud Admin Portal
Open the JumpCloud Admin Portal.
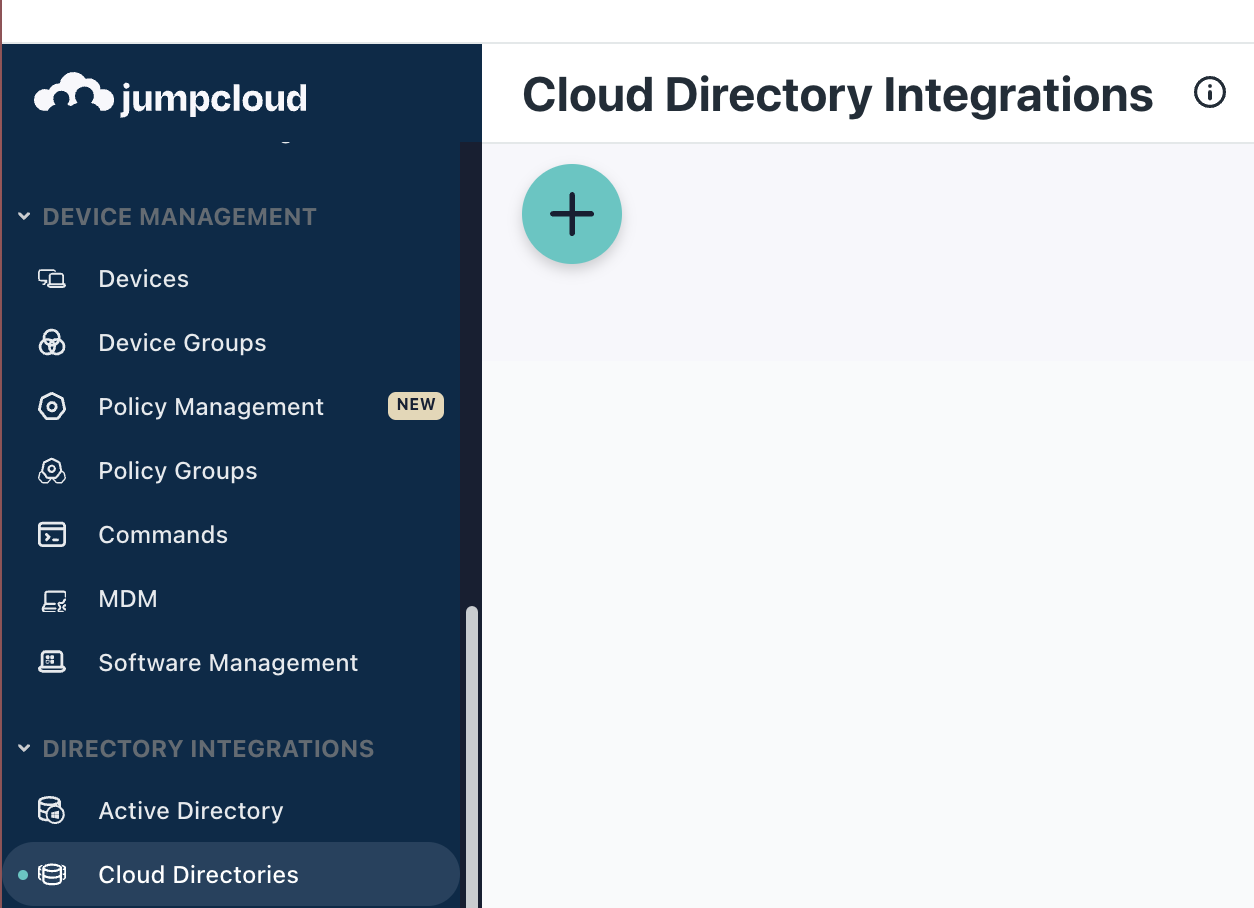
Click on Cloud Directories
Select the Cloud Directories option.
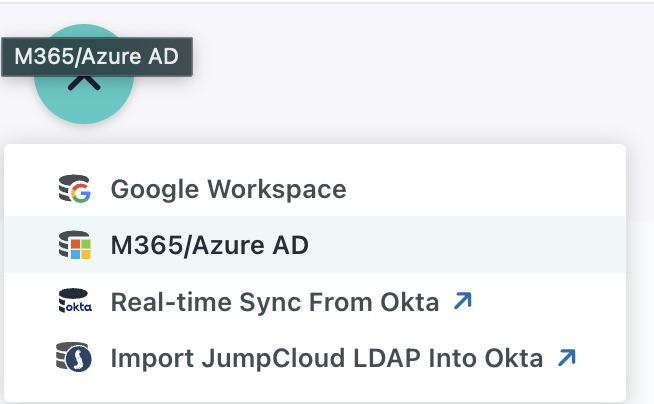
Click on the Plus (+) and choose Entra ID/Azure AD
Select the Plus (+) icon and choose Entra ID/Azure AD.
Name your directory
Provide a name for your directory. For this example, we chose "Azure".
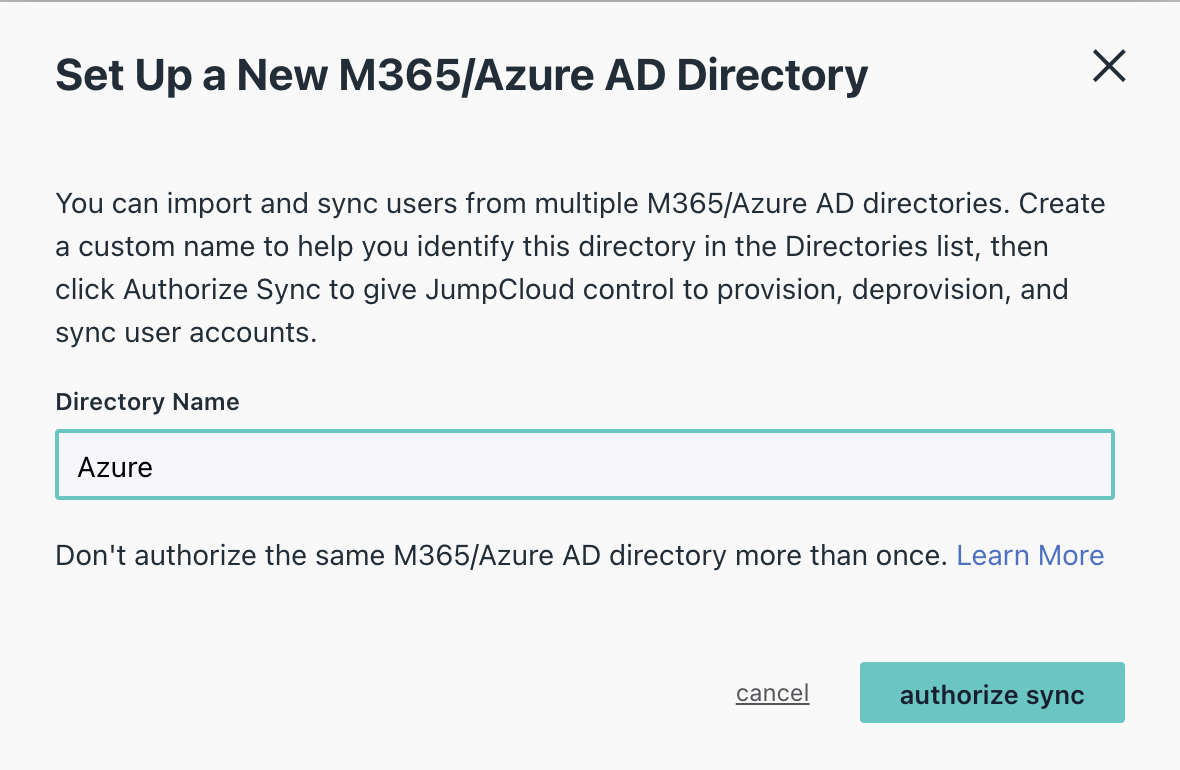
Click ‘authorize sync’
Click the 'authorize sync' button.
Sign in to Microsoft
You will be redirected to Microsoft to sign in.
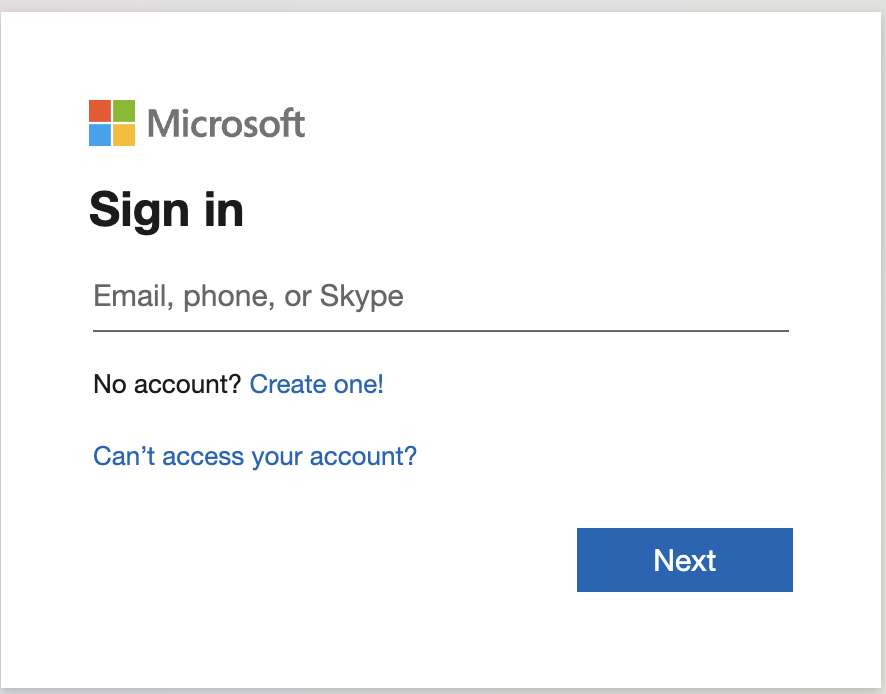
Sign in with your admin account
Use your admin account to sign in.
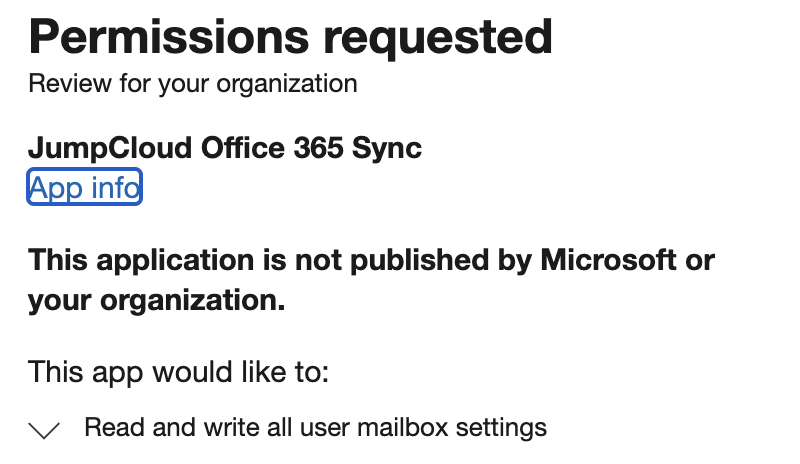
Accept the permission request
Review the lengthy permission request and press Accept.
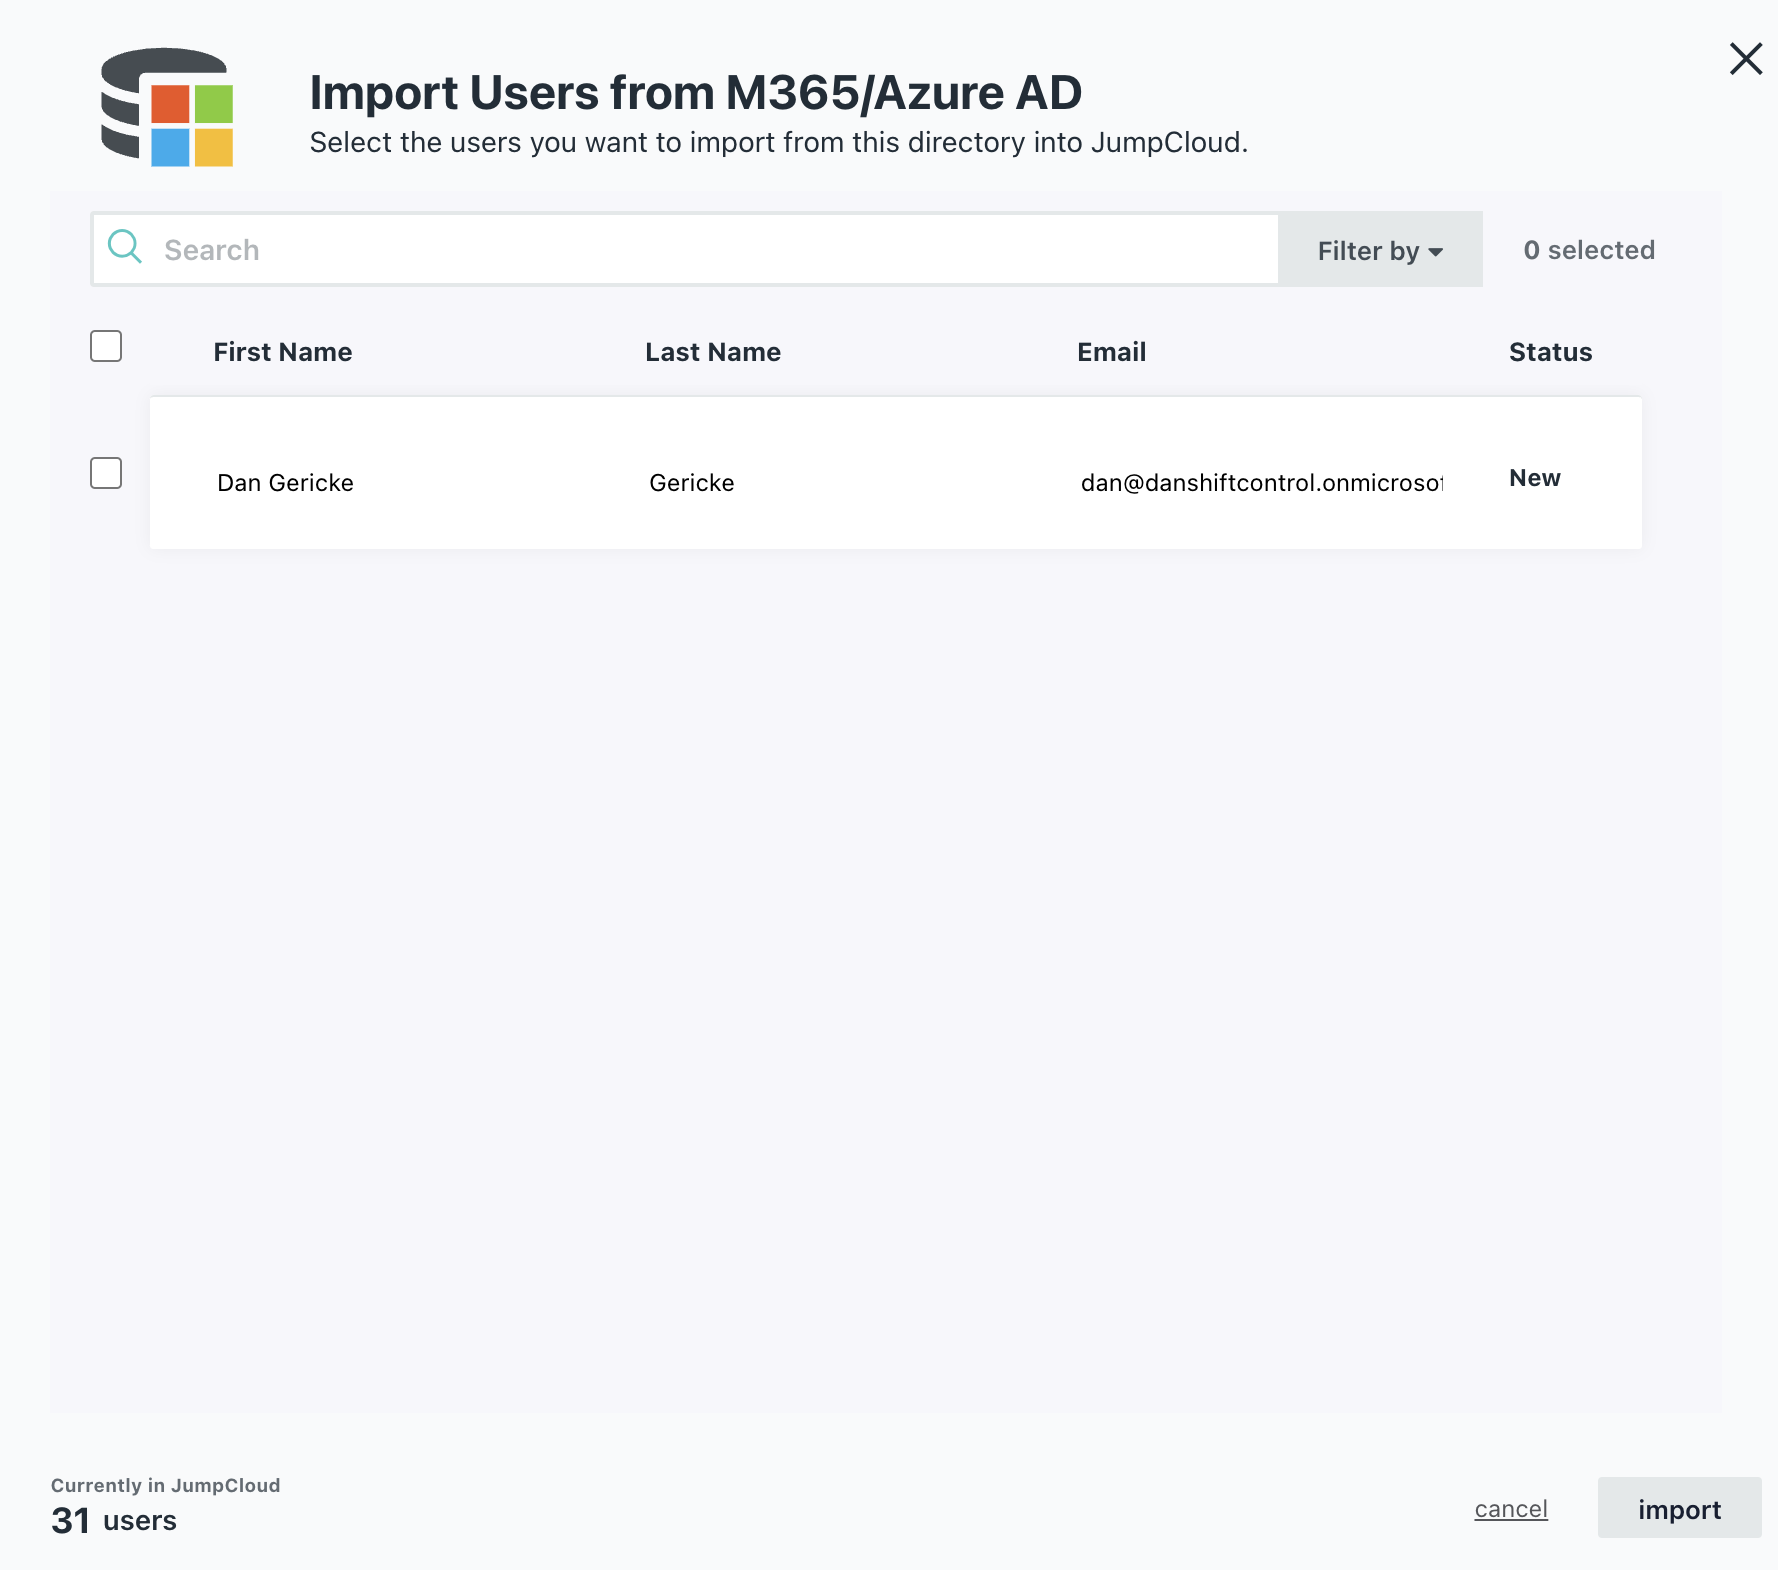
Review the list of users
You will see a list of users you can import. At this time, you don’t need to import any, as they likely already exist in JumpCloud. Click cancel on the import screen.
Save and close
Click save on the Azure screen and then hit the X to close.
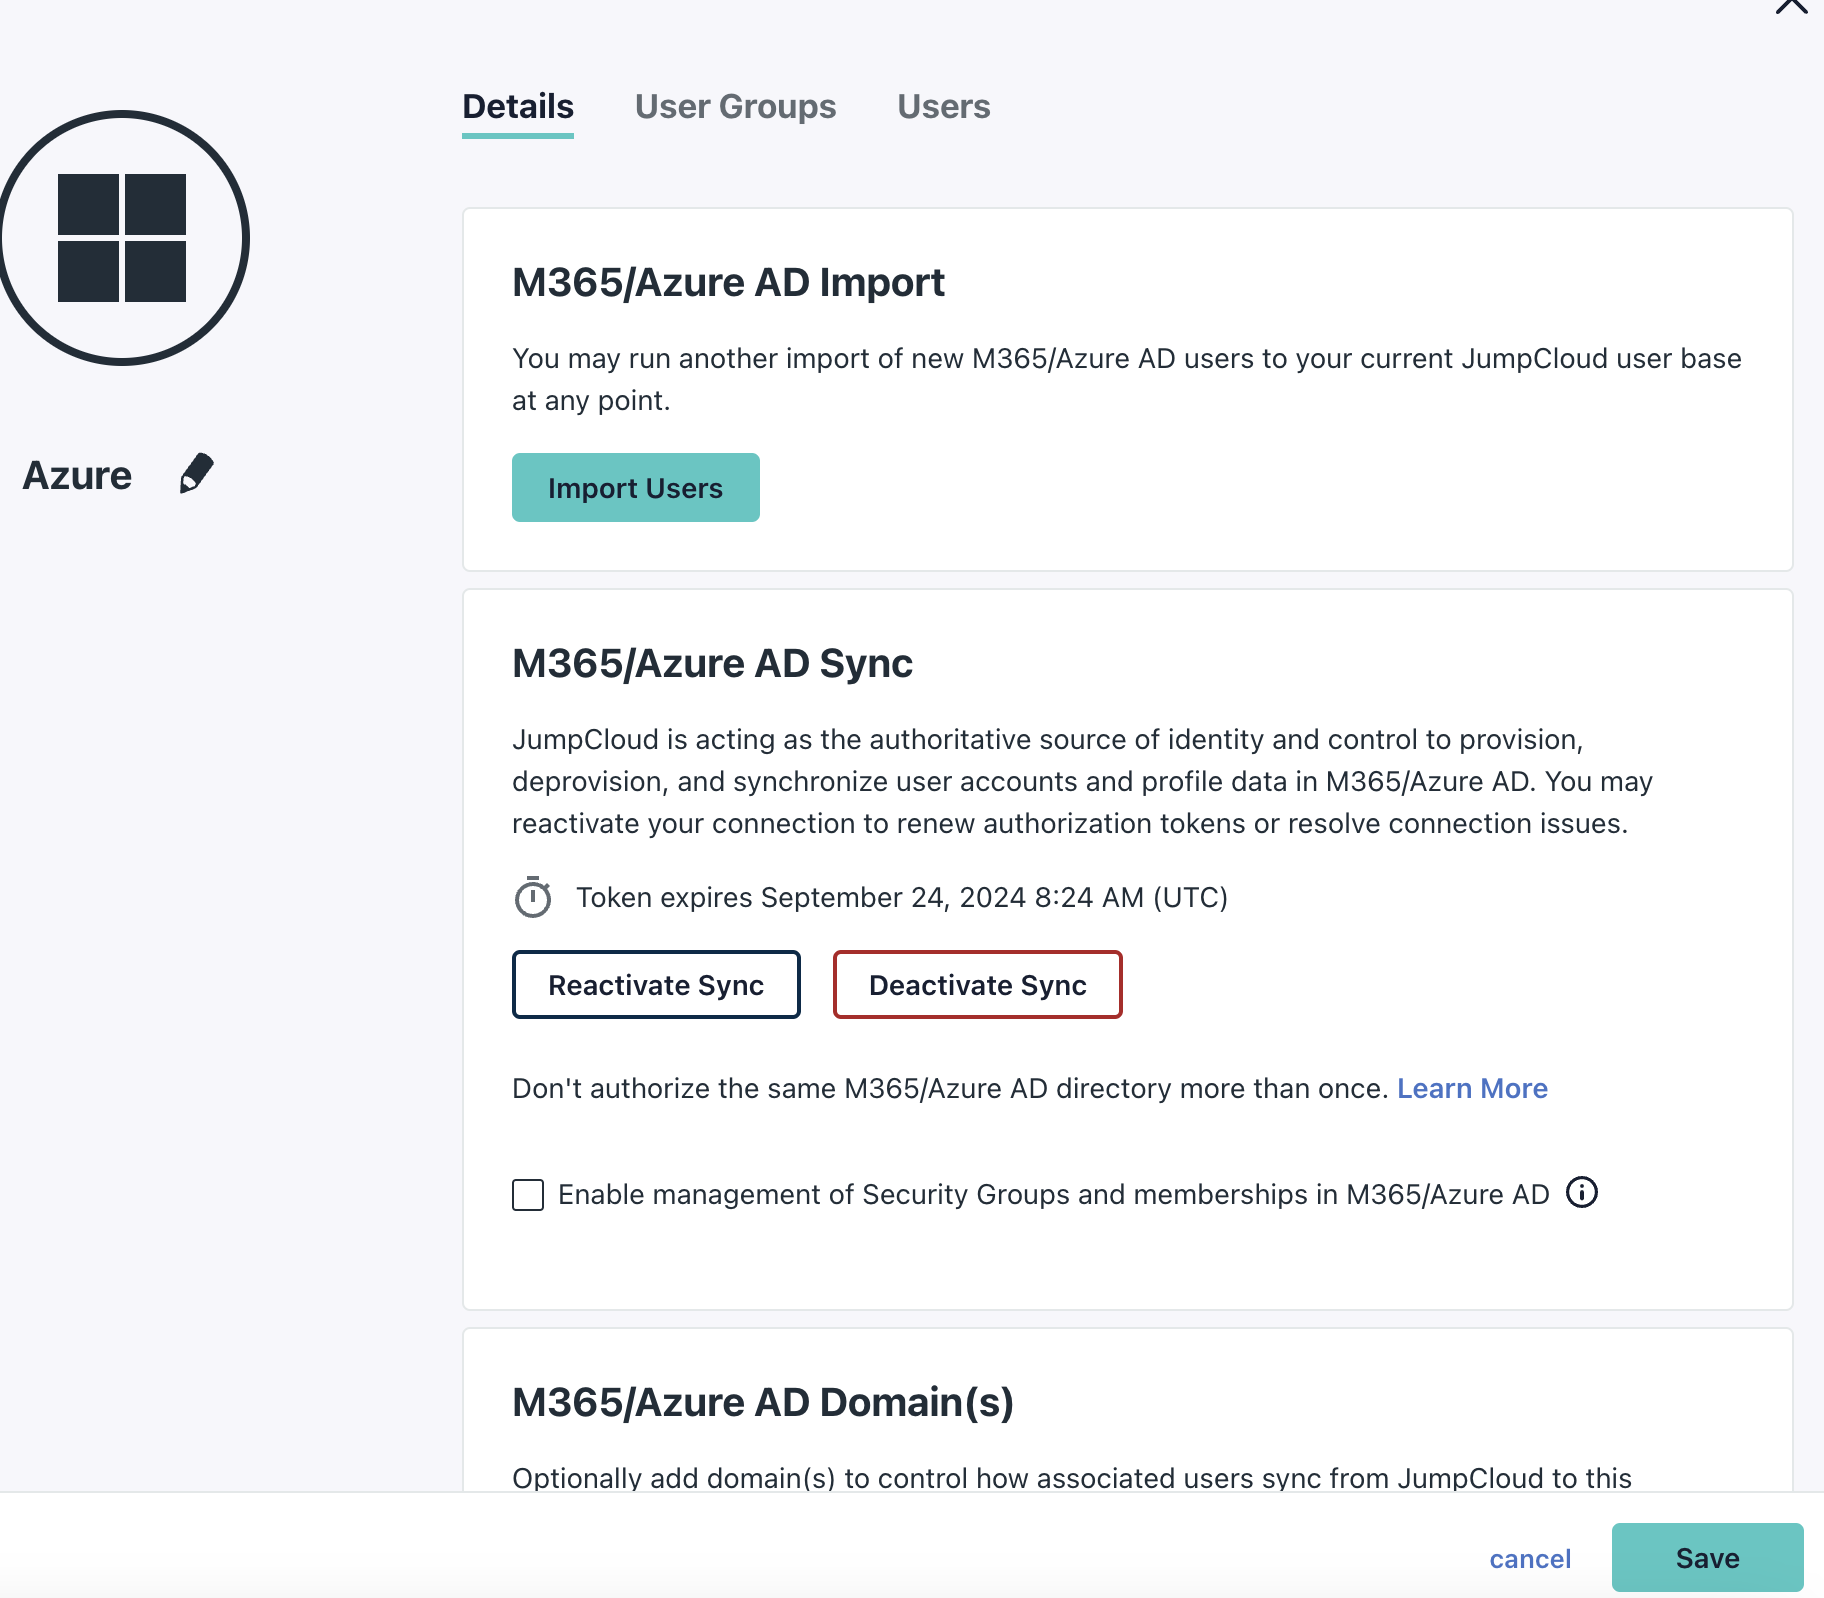
Your setup of Cloud Directory sync for Azure is now complete. If you have multiple domains and only want to sync one domain, you can configure additional options for domains in the Cloud Directory settings.
At this point, any user group or individual user that you assign to this directory will be synced to Azure.
Create an Azure application in ShiftControl
Log in to ShiftControl and go to Application Management
Log in to ShiftControl and go to Application Management.
Click Add new app
Click the "Add new app" button.

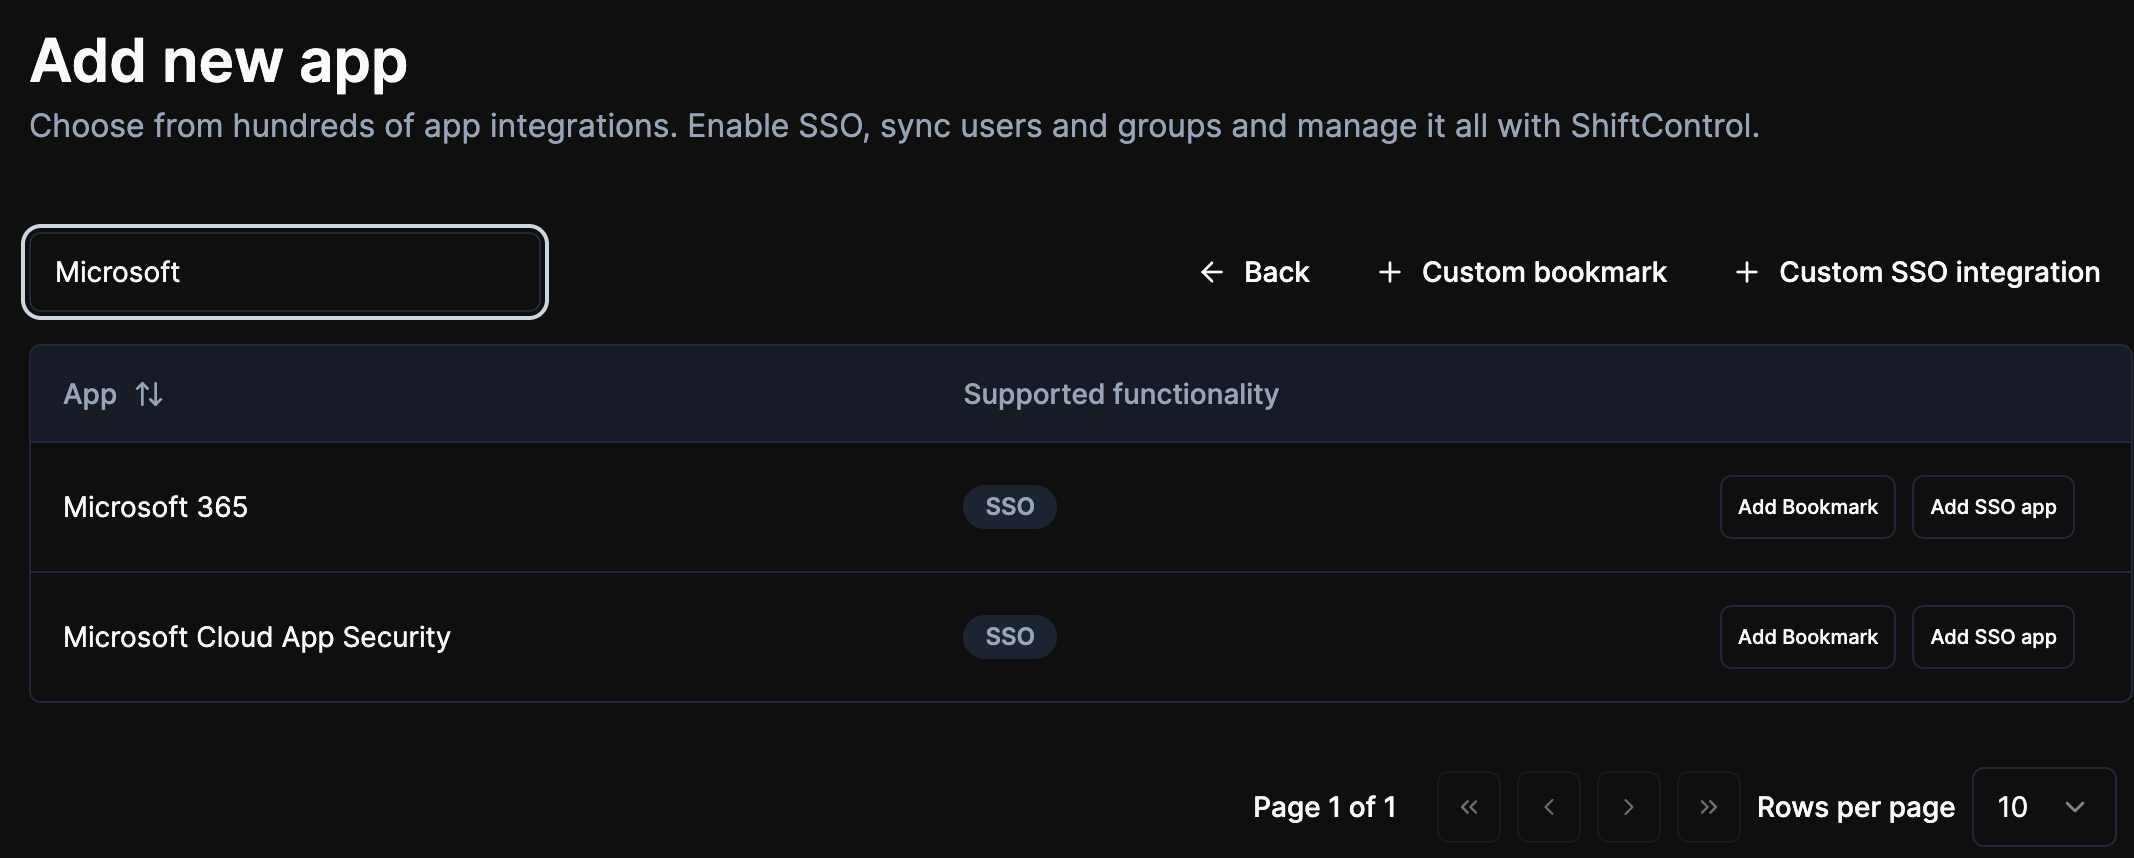
Search for Microsoft and add SSO app
Search for "Microsoft" and click "Add SSO app for Microsoft 365".
Name the app
Name the app "Azure" or something appropriate so people can identify it properly in your organization.
Add a description and go to the SSO tab
We can set up groups and users later. Add a description if you’d like and click on the SSO tab.
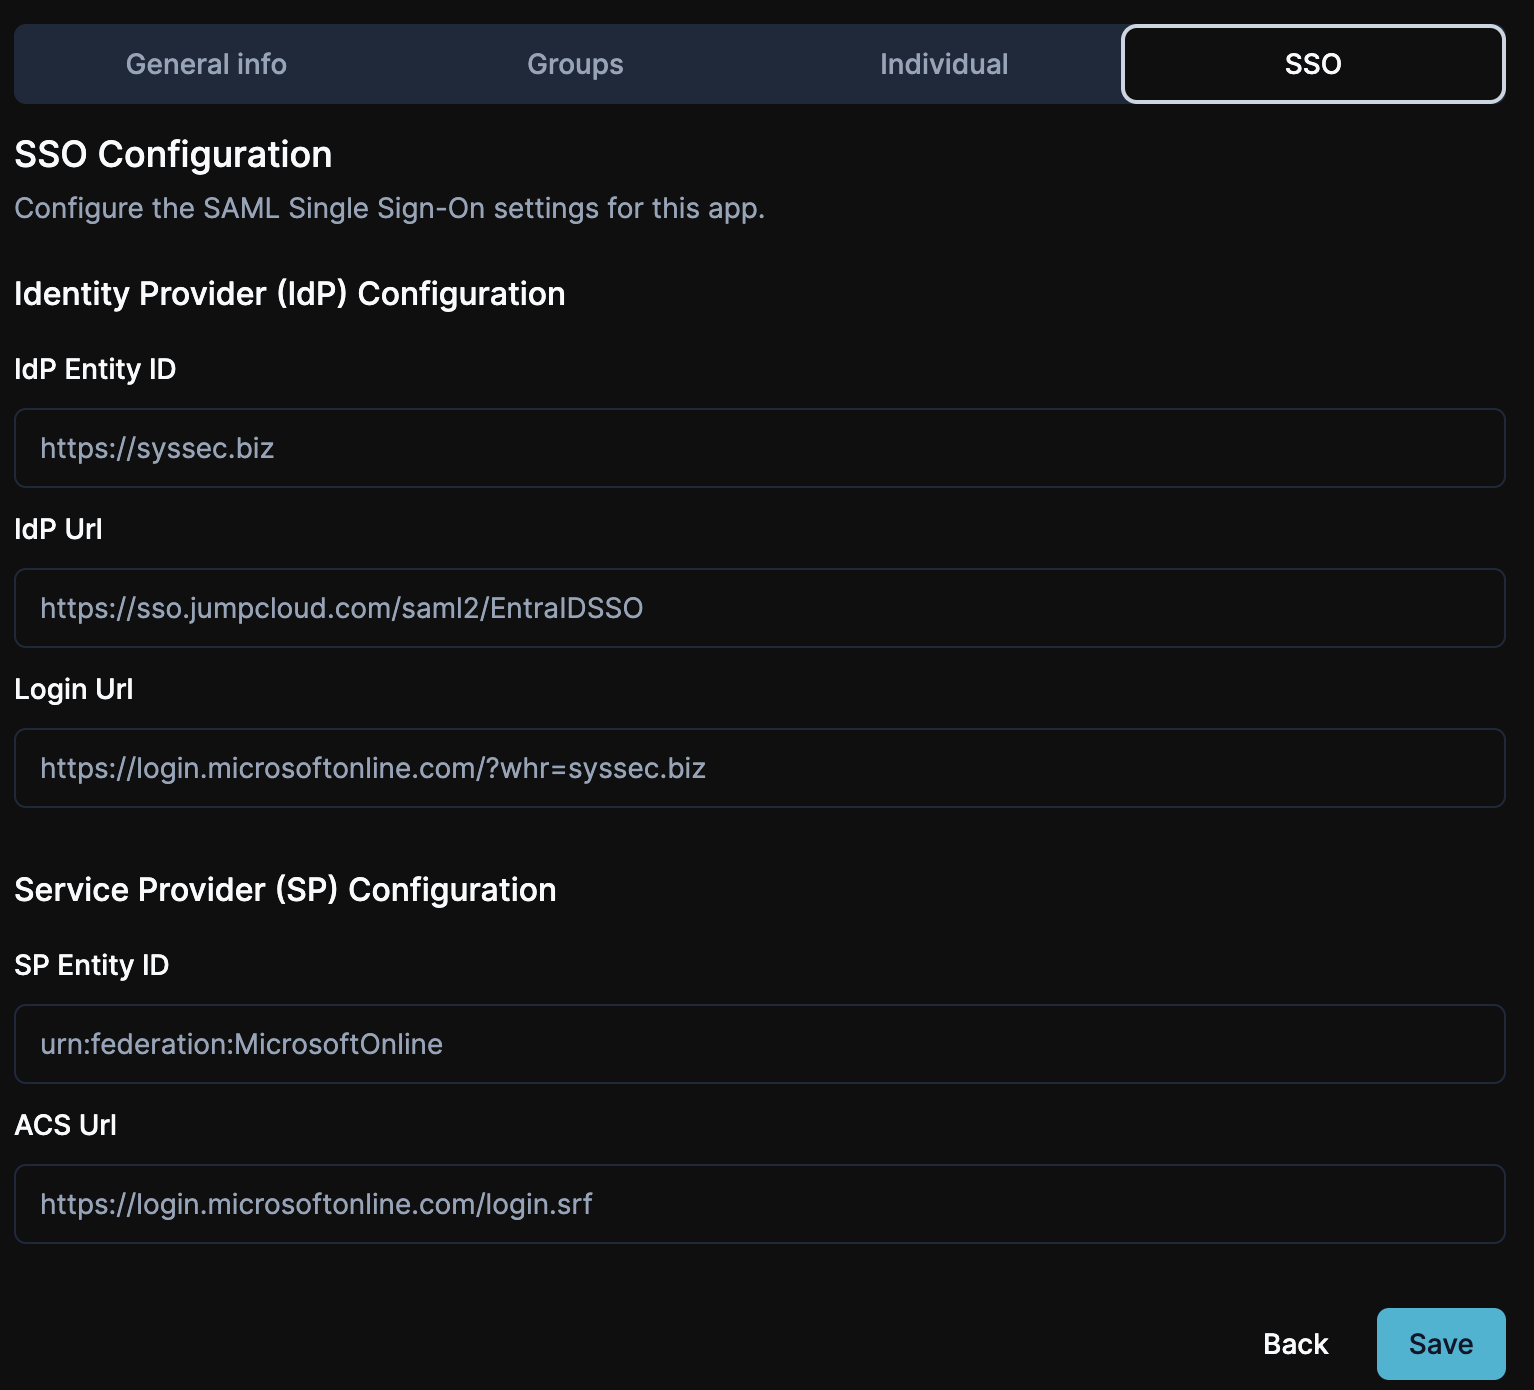
Enter your domain in the IDP Entity ID field
Enter your domain in the IDP Entity ID field in the format https://YOUR_DOMAIN.com.
Replace YOUR_DOMAIN in the Login Url field
Replace YOUR_DOMAIN with your domain in the Login Url field.
Important:
The IdP Entity ID and Login URL fields must match the Entra ID domain that’s to be SSO-enabled (federated) over to JumpCloud. These fields should not be the default domain, (e.g., YOUR_DOMAIN.onmicrosoft.com).
Change the IdP Url
Change the IdP Url to: https://sso.jumpcloud.com/saml2/EntraIDSSO.
Save the settings
Leave the other fields as default and click Save.
Edit the app to download metadata
Now that everything is set, let’s edit the app one more time so we can download the metadata. Click on "Edit" for the Azure app, then the SSO tab, and click the "Download SSO Config Metadata" button. This will download an XML file.

Close the app edit window
You can close this app edit window.
Enable SSO in Azure
This section requires Powershell. The instructions were written using Powershell on a Mac, but will work on a Windows computer.
Install required modules
Install required modules
Install the following modules using the commands provided, and accept the install for each.
Install-Module PowershellGet
Install-Module Microsoft.Graph
Install-Module -Name JumpCloud.Office365.SSO
Install ExchangeOnline module [Optional]
If your Azure environment also has Exchange, then install the ExchangeOnline module as well.
Install-Module ExchangeOnlineManagement
Set the Execution policy
On a Windows computer, set the Execution policy. This is not required on a Mac.
Set-ExecutionPolicy RemoteSigned
Connect to the Azure Tenant & Configure SSO
Connect to the Azure Entra ID tenant
Connect to the Azure Entra ID tenant using the Microsoft Graph module, so we can interact with the API.
Connect-MGGraph -Scopes "Domain.ReadWrite.All", "Directory.AccessAsUser.All", "Organization.ReadWrite.All", "Directory.ReadWrite.All"
Log in to Microsoft
You’ll receive a popup to log in to Microsoft. Make sure you log in with your Admin account.
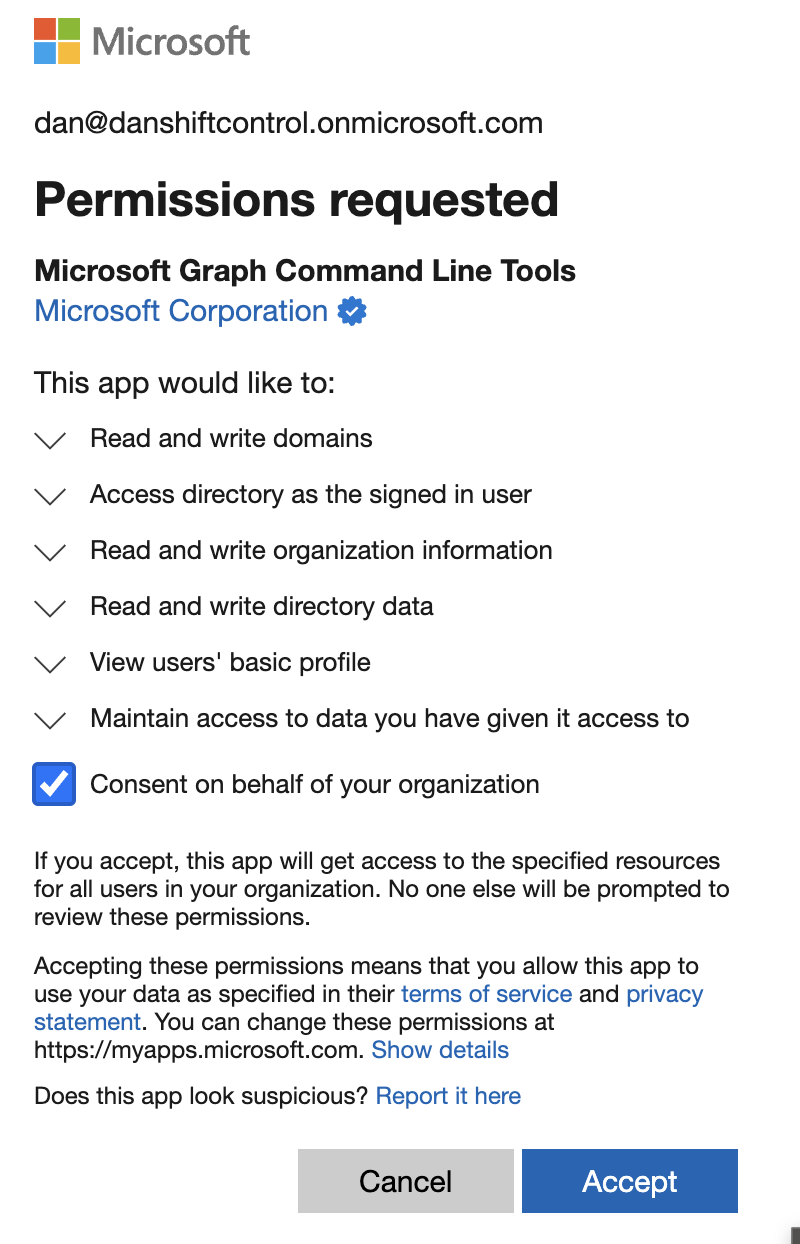
Accept the permission request
Accept the permission request.
Authentication complete notice
You’ll receive a notice that authentication is complete. You can now close this window.

Connect to Microsoft Exchange [Optional]
If you have a Microsoft Exchange instance in this Azure domain, you’ll need to connect to it as well.
Connect-ExchangeOnline
Our testing environment does not have Exchange, so we don’t have the screenshots for this piece. We’ll work to add it!
Check SSO status
Check to make sure SSO isn’t already enabled on your domain. When prompted for a domain, enter the domain you’d like to integrate for SSO.
Get-MgDomain | Select Id, AuthenticationType
You should see “Managed” for the domains, which means SSO is disabled. Here’s an example:
Get-MgDomain | Select Id, AuthenticationType

Id                              AuthenticationType
-                             -----------------
danshiftcontrol.onmicrosoft.com Managed
syssec.biz                      Managed
Show SSO configuration
Run a command to show the SSO configuration.
Show-JumpCloud.Office365.SSO
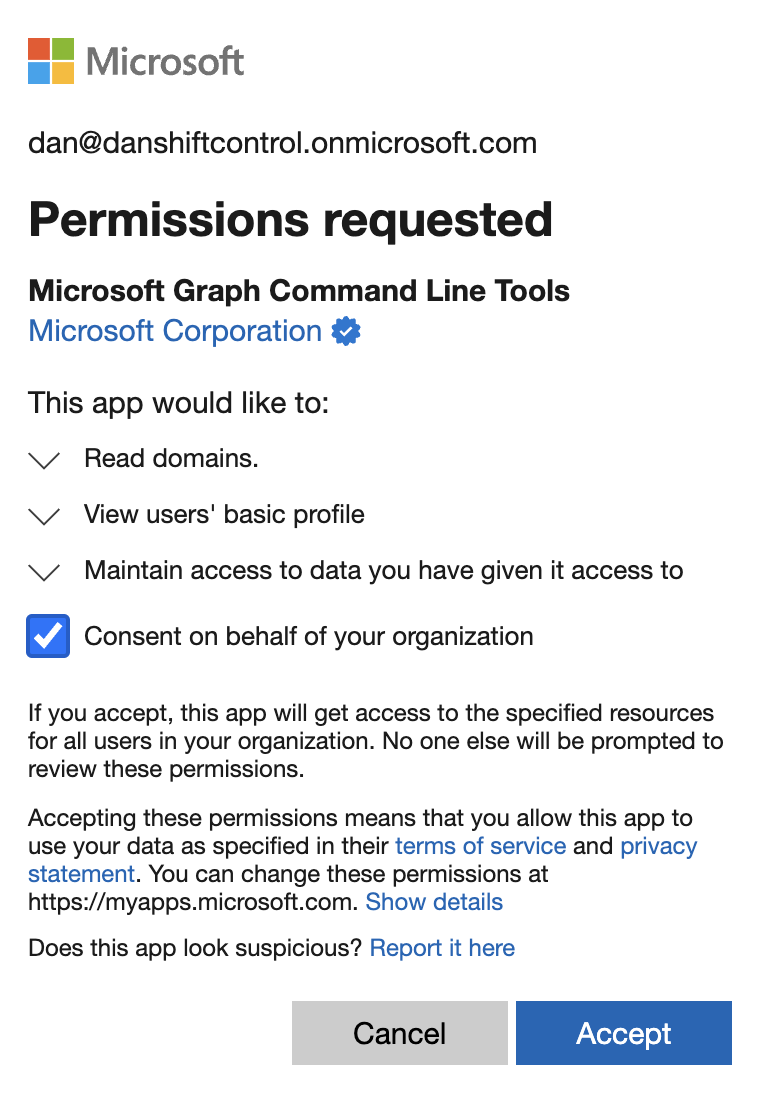
You’ll likely get another permission prompt. Accept it.
The return information includes the error message (404) if there’s no config found. That’s normal! Check for “Federation is not configured for domain: YOUR_DOMAIN” at the bottom. We expect it not to be configured. Here’s an example:
Show-JumpCloud.Office365.SSO

cmdlet Show-JumpCloud.Office365.SSO at command pipeline position 1
Supply values for the following parameters:
Domain: syssec.biz
Welcome to Microsoft Graph!

Connected via delegated access using 14d82eec-204b-4c2f-b7e8-296a70dab67e
Readme: https://aka.ms/graph/sdk/powershell
SDK Docs: https://aka.ms/graph/sdk/powershell/docs
API Docs: https://aka.ms/graph/docs

NOTE: You can use the -NoWelcome parameter to suppress this message.

Get-MgDomainFederationConfiguration_List: /Users/user/.local/share/powershell/Modules/JumpCloud.Office365.SSO/0.11.0/Public/Show-JumpCloud.Office365.SSO.ps1:33
Line |
  33 |  …             $Results = Get-MgDomainFederationConfiguration -DomainID  …
     |                ~~~~~~~~~~~~~~~~~~~~~~~~~~~~~~~~~~~~~~~~~~~~~~~~~~~~~~~~~
     | Resource 'federationConfiguration' does not exist or one of its queried reference-property objects are not present.  Status: 404 (NotFound) ErrorCode: Request_ResourceNotFound Date: 2024-06-27T02:13:36  Headers: Cache-Control
     | : no-cache Vary                          : Accept-Encoding Strict-Transport-Security     : max-age=31536000 request-id                    : 1e56f17f-56ef-42c2-a689-8ea0a8fa7f9a client-request-id             :
     | 9aaba976-b859-45e2-b85c-f20dd2780f26 x-ms-ags-diagnostic           : {"ServerInfo":{"DataCenter":"Southeast Asia","Slice":"E","Ring":"5","ScaleUnit":"001","RoleInstance":"SI2PEPF00000BCC"}} x-ms-resource-unit            : 1 Date
     | : Thu, 27 Jun 2024 02:13:36 GM
Federation is not configured for domain: syssec.biz
Enable SSO
Run the command to enable SSO. Replace the XMLFilePath with the location of the downloaded metadata file from the previous section.
Enable-JumpCloud.Office365.SSO -XMLFilePath Azure_metadata.xml
You’ll see a response with the information about your setup. Here’s an example:
Enable-JumpCloud.Office365.SSO -XMLFilePath ./Azure_metadata.xml

SSO Configured for domain: syssec.biz
WARNING: It can take up to 20 minutes for the Office 365 sign in process to update to SSO initiated. You may return sign in errors during this time.
DisplayName Id                                   IssuerUri          MetadataExchangeUri PassiveSignInUri                           PreferredAuthenticationProtocol SigningCertificate
-----------                                  --------         ---------------------------------                          -----------------------------------------------
syssec.biz  ac7c7c58-1172-43be-b588-22f955731755 https://syssec.biz                     https://sso.jumpcloud.com/saml2/EntraIDSSO saml                            MIIFizCCA3OgAwIBAgIVAOAJJdPl0FOVkVY/rorVvdYRWsXVMA0GCSqGSIb3DQEBCwUAMH8xCzA…
It may take up to 20 minutes for SSO to become active! In our test, it was at least 5 minutes.
Verify the change
Verify the change.
Show-JumpCloud.Office365.SSO
You’ll see the same info you saw from the configuration command. Here’s an example:
Show-JumpCloud.Office365.SSO

cmdlet Show-JumpCloud.Office365.SSO at command pipeline position 1
Supply values for the following parameters:
Domain: syssec.biz

DisplayName Id                                   IssuerUri          MetadataExchangeUri PassiveSignInUri                           PreferredAuthenticationProtocol SigningCertificate
-----------                                  --------         ---------------------------------                          -----------------------------------------------
syssec.biz  ac7c7c58-1172-43be-b588-22f955731755 https://syssec.biz                     https://sso.jumpcloud.com/saml2/EntraIDSSO saml                            MIIFizCCA3OgAwIBAgIVAOAJJdPl0FOVkVY/rorVvdYRWsXVMA0GCSqGSIb3DQEBCwUAMH8xCzA…
Disconnect from Microsoft Graph
Disconnect from Microsoft Graph.
Disconnect-MGGraph
Congratulations, you are now configured for user synchronization and SSO for Azure!
Assigning access for your users
You assign access to users just like you do for any other application. In ShiftControl, assign a group or individuals to the app and the app will be available for them in the console.
Your users will be able to login either from JumpCloud directly, or will be redirected to JumpCloud to complete their sign-in if they are coming from Microsoft.
Each user that you assign in the application must also be assigned to the directory for synchronization. If this doesn’t happen, the process will be missing a key identifier to process the login! We are working on a feature to synchronize the application assignment and the Directory Sync assignment for Azure to make this easier. Right now, we suggest creating a group for Azure access and then assigning to the App and to the Cloud Directory, then any changes to the group remain in sync.
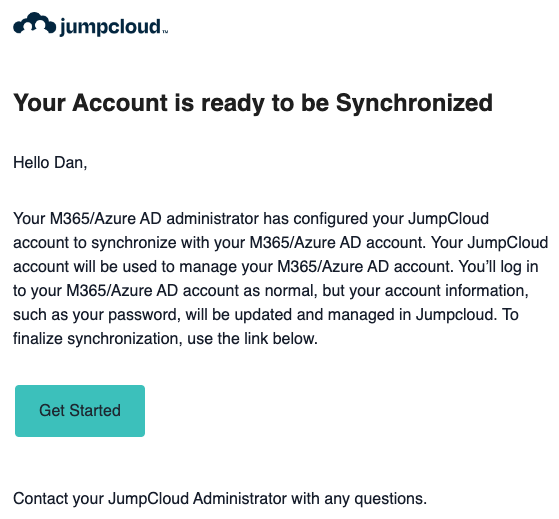
When you add a user to the Cloud Directory they will receive an email that looks like this:
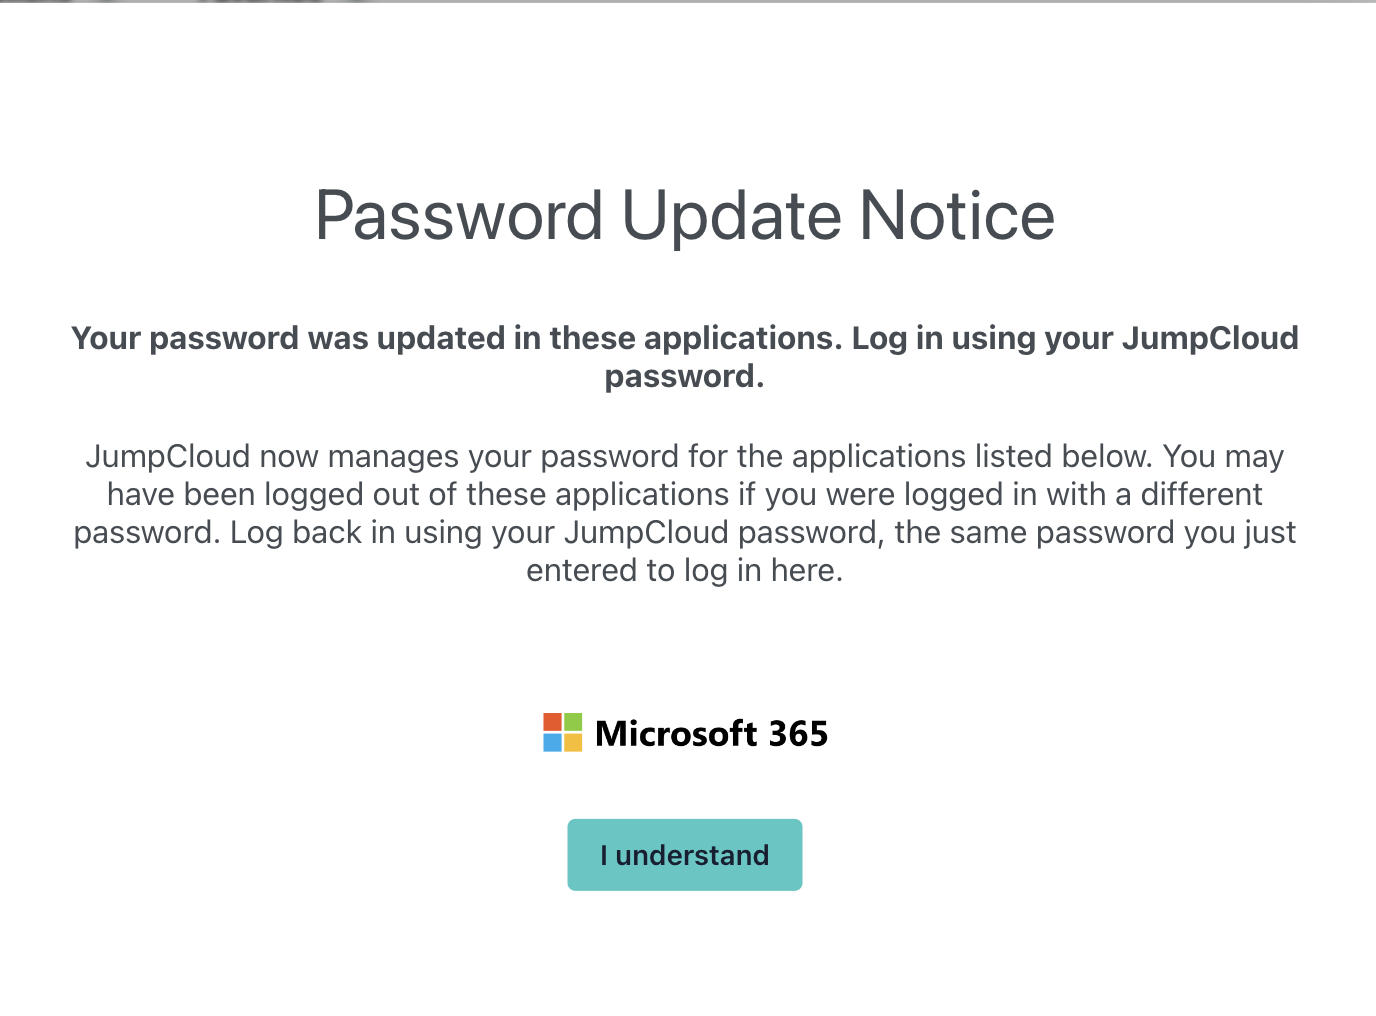
When you add a user to the Azure application in JumpCloud, the next time they log in to JumpCloud they’ll receive this notice:
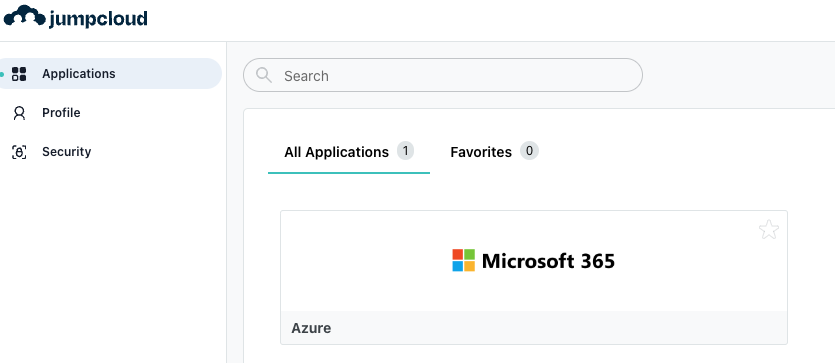
Once they accept, they’ll be able to click on the Azure app, which redirects them to Microsoft and then logs them in once they choose their user. Here’s an example:
Console with Azure app
A console with the Azure app.
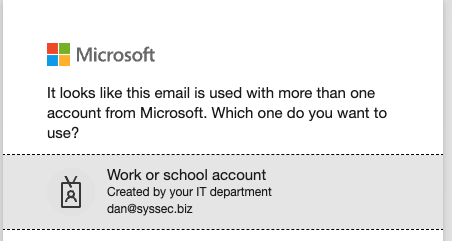
Select the right user
Select the right user if there’s more than one user that has logged in from this computer.
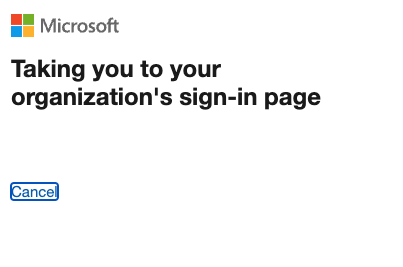
Redirect to JumpCloud login
You’ll be redirected to JumpCloud login in the background.
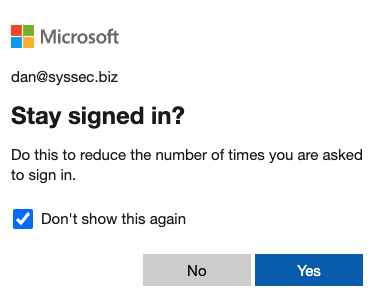
Choose to remain signed in
You’ll be asked if you want to remain signed in.
Logged in via SSO
Now you are logged in via SSO!
