Adding a Group
Create a new group to start managing app access for a set of users.
Overview
Every app assignment in ShiftControl goes through a group. When you need to give a team, department, or role access to an application, you start by creating a group. Once the group exists, you assign apps to it, configure its membership rules, and users automatically get the access they need.
Groups support three types of membership rules that you can combine in any way:
- Dynamic rules automatically add users based on profile attributes (department, location, job title, and more).
- Nested rules include all members of another group, so you can build hierarchies.
- Individual assignments let you manually add specific users when the other methods do not fit.
How It Works
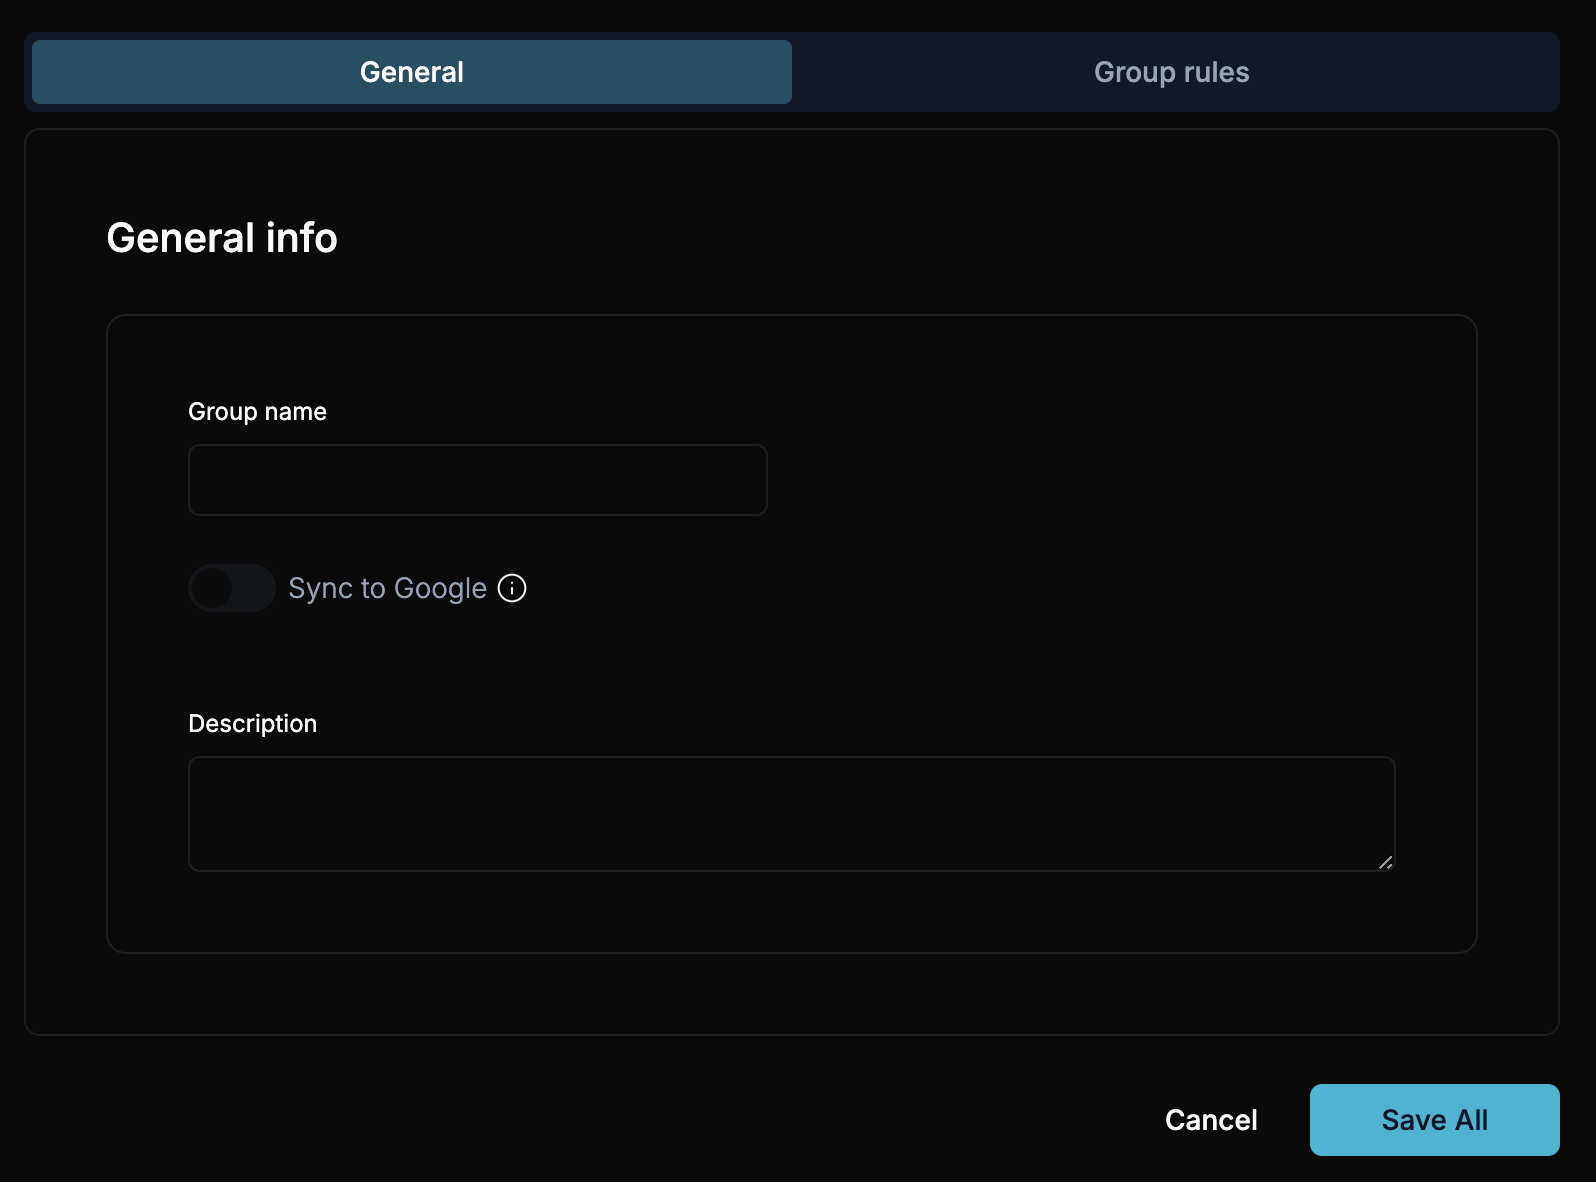
When you create a group, you set its name, description, and optional tag. You can also enable Google Sync to push the group to Google Workspace as a distribution list. After saving the group, you configure its membership rules on the Group Rules tab.
The moment a user matches a group's rules, they are added to the group and gain access to every app assigned to it. This happens automatically for dynamic and nested rules. For individual assignments, access is granted as soon as you save the change.

Common Scenarios
Setting up department-based app access -- You need every person in the Accounting department to have access to QuickBooks and Expensify. Create a group called "Accounting," tag it as Department, and save it. Then edit the group to add a dynamic rule: "When Department equals Accounting." Finally, assign the QuickBooks and Expensify apps to this group. Every current and future accountant gets access automatically.
Creating a role-based access group for AWS -- Your DevOps engineers need access to AWS Production. Create a group called "AWS Production Access," tag it as Role Access. Add the specific engineers as individual assignments (since production access should be explicitly granted, not automatic). Assign the AWS SSO app to the group.
Building a distribution list for an office -- You want an email alias like [email protected] for all employees in Singapore. Create a group called "All Singapore Users," enable Google Sync, and set the email address. Add a dynamic rule: "When Location equals Singapore." Google Workspace will automatically have a distribution group that stays current as people join and leave the Singapore office.
Step-by-Step
Navigate to Groups
From the ShiftControl dashboard, go to the Groups section in the left sidebar.
Click Add Group
Click the Add Group button in the top-right corner of the Group Management page.
Fill in General Information
On the General tab, enter the following:
- Group Name: A clear, descriptive name (e.g., "Accounting" or "AWS Production Access").
- Group Tag: Select a tag to categorize the group (Department, Team, Location, Role Access, Distribution, or leave as No tag).
- Sync to Google: Toggle this on if you want the group to sync to Google Workspace as a distribution list. See Syncing Groups with Google for details.
- Description: Explain what this group is for and who should be in it. This helps other admins understand the group's purpose.
Save the Group
Click Save Changes to create the group. The group now exists but has no members yet.
Configure Membership Rules
After saving, switch to the Group Rules tab to configure how users are added to this group. You can set up dynamic rules, nest other groups, or add individual users. See Editing a Group for full details on each rule type.
Things to Know
- A group without rules has no members. Creating a group is just the first step. You need to configure membership rules or add individual users before anyone gains access.
- Group names should be descriptive. Other admins will see these names throughout ShiftControl. "AWS Production Access" is better than "Group 7."
- Tags are optional but recommended. Tags make it much easier to filter and audit groups as your organization grows. Choose a tag that reflects the group's purpose.
- Google Sync can be enabled later. You do not need to decide on Google Sync when creating the group. You can enable it at any time by editing the group.
- Downstream effects are immediate. As soon as you add membership rules and save, users who match those rules gain access to any apps assigned to the group.
Related Features
- Group Management -- View and organize all groups from the central list.
- Editing a Group -- Configure dynamic, nested, and individual membership rules.
- Syncing Groups with Google -- Push group membership to Google Workspace.